“`html
Cracks in concrete when to worry: width, direction & action guide
⏱️ 7 min read · Last updated: 2026
- 1/4 inch (6mm) is the widely accepted crack width threshold at which a concrete crack moves from cosmetic to structurally concerning and warrants professional evaluation.
- Shrinkage cracks typically measure under 1/16 inch (1.5mm) and appear within the first 30 days of a new pour; structural cracks are commonly 1/8 inch to 1/2 inch or wider.
- Monitor for 4–6 weeks using a crack width gauge or pencil marks before deciding whether to repair or call a pro — active growth over that period is the key warning signal.
- Diagonal concrete cracks at 45° angles near corners or control joints are the single strongest visual indicator of differential settlement under a slab.
- Hairline crack repair with polyurethane or epoxy filler costs roughly $50–$150 as a DIY fix in 2026; professional structural crack injection typically runs $300–$800 per crack depending on depth and length.
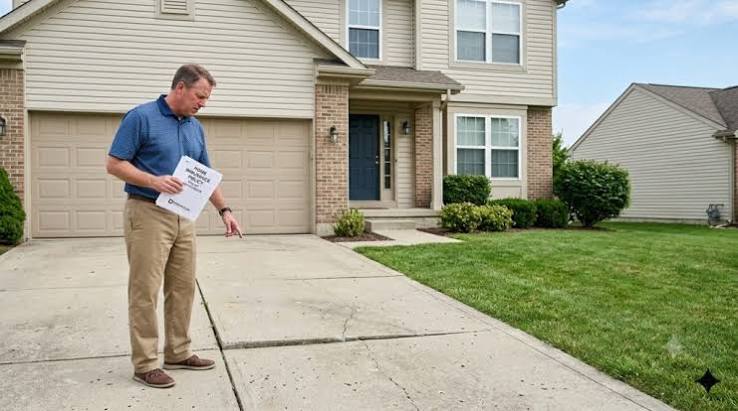
The crack ran diagonally from the corner of the garage slab toward the sidewalk — maybe three inches long in October, nearly eight inches by March. By the time the homeowner called, one edge had lifted almost half an inch above the other. That kind of change is exactly what separates the cracks you need to act on from the ones you can monitor quietly over time.
Most advice on this topic stops at “if it’s big, call someone.” That’s not useful. What you actually need is a width measurement, a direction read, and a four-week monitoring window — three things that together tell you far more than any single glance at the surface.
Looking at concrete over the years — driveways, basement floors, patios, garage slabs — the cracks that turn into expensive repairs almost always showed at least one early warning that got dismissed as cosmetic. The $1,400 repair bill tends to follow the moment someone says “it’s probably nothing.” This guide gives you the framework to say something more informed than that.
The number that actually separates cosmetic from serious
A concrete crack becomes a structural concern at 1/4 inch (6mm) wide — that is the threshold used by most structural engineers and referenced in ACI (American Concrete Institute) field guidelines. Below that width, the primary risk is water infiltration and freeze-thaw damage, not immediate structural failure. Above it, you have a crack wide enough to allow significant water and debris entry, and one that commonly signals the slab has moved beyond normal curing shrinkage.
To put that in practical terms: a U.S. quarter coin is about 1.75mm thick. If you can slide a quarter flat into the crack and it drops in without resistance, you are at or past the 1/4-inch threshold. At that point, surface patching alone is not enough — you need to investigate what is happening in the soil underneath before any repair will hold.
Width alone does not tell the whole story, but it is the fastest field check you can do in 30 seconds. Pair it with a direction read and a vertical offset check — is one side of the crack higher than the other? — and you have three data points that together are far more reliable than width alone.
Quick check: Slide a quarter into your crack. If it fits easily, move to the decision table in the section below. If it does not, you are in shrinkage territory — keep reading to confirm with direction and movement checks.
Is a diagonal crack in my patio worse than a straight one?
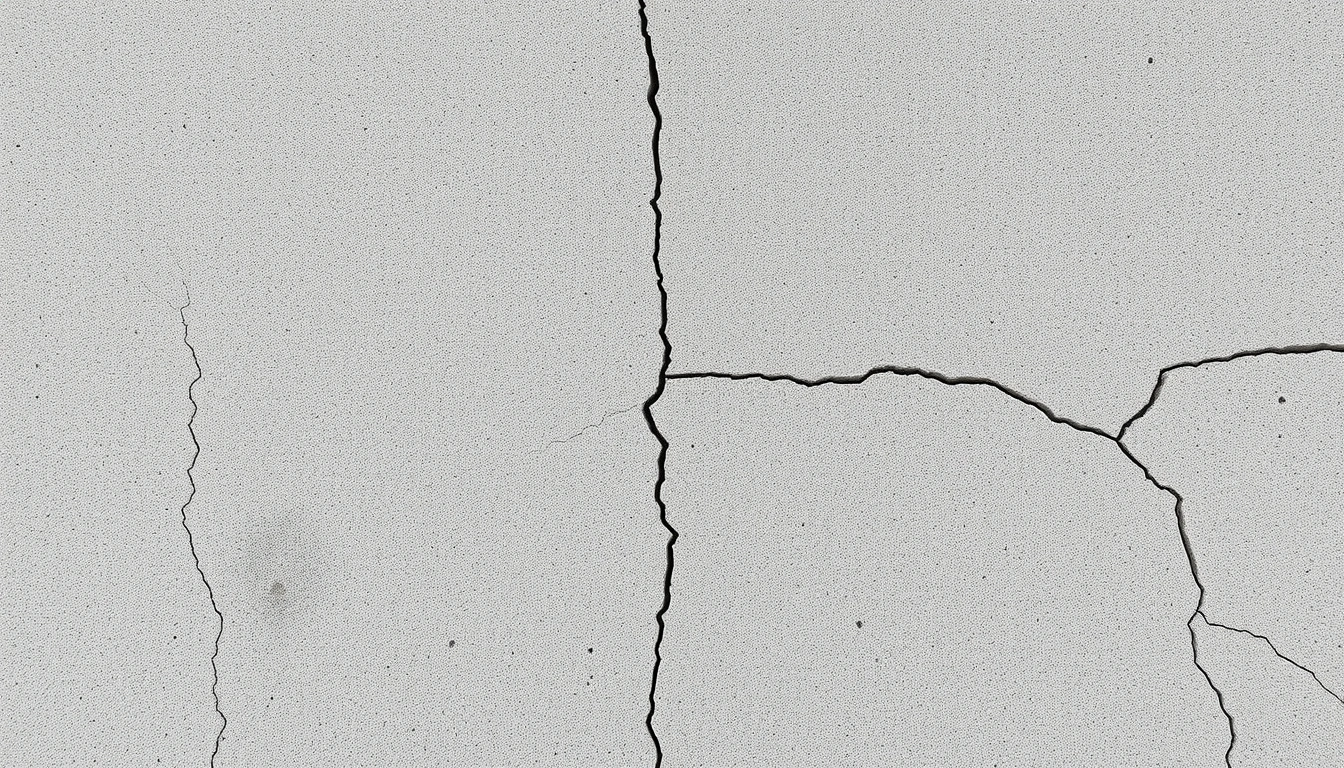
Now that you have a width reading, direction is the next variable to assess — and it changes the picture significantly. A diagonal concrete crack running at roughly 45° is more likely to indicate differential settlement than a straight crack following a control joint. Straight cracks that follow the scored lines in a slab are almost always shrinkage cracks. The control joint was put there specifically to direct shrinkage cracking. A crack that ignores those joints and runs diagonally across open slab is reacting to movement, not just drying.
Here is the mechanical reason: when one corner of a slab loses support — because soil has washed away, compacted differently, or eroded under a downspout — the unsupported corner tries to drop. The rest of the slab resists. That tension resolves at 45° to the nearest corner, which is why diagonal cracks almost always originate at a slab corner or a door opening and angle inward.
A straight horizontal crack in a wall, on the other hand, often points to lateral pressure from soil or water behind a retaining wall or foundation — a different problem with different repair logic. Direction gives you a mechanical clue about what is happening below the surface before you ever dig anything up.
A diagonal crack that starts at a slab corner and measures wider at one end than the other is telling you the corner is dropping — and that is a soil problem, not a concrete problem.
Vertical offset matters here too. If you run your hand across the diagonal crack and one side sits higher than the other by even 1/4 inch, that is a trip hazard and a sign of active concrete settlement. That combination — diagonal direction, vertical offset, width above 1/8 inch — warrants a professional evaluation, not a tube of concrete caulk.
Quick check: Trace the crack with your finger. Does it follow a control joint, or does it cross open slab diagonally from a corner? If diagonal, note whether one side is higher than the other. That combination is your signal to move to professional assessment.
Shrinkage cracks vs structural cracks: how to tell them apart on sight
With width and direction assessed, the next step is deciding which category of crack you are dealing with — because the repair path for each is completely different. Shrinkage cracks form because concrete loses moisture as it cures; this is normal and expected. Structural cracks form because something is moving, settling, or failing beneath the slab. Getting this distinction right early saves both time and money.
Signs you are looking at a shrinkage crack
- Appeared within the first 30 days of a new pour
- Under 1/16 inch wide (a credit card edge is about 0.8mm — a hairline crack is thinner than that)
- Runs roughly parallel to the longest dimension of the slab
- Both sides of the crack sit at the same level — no vertical offset
- Has not changed in length or width over four weeks of monitoring
Signs you are looking at a structural crack
- Appeared months or years after the pour, not during initial curing
- Runs diagonally, especially from corners or openings
- One side sits higher or lower than the other
- Wider at one end than the other (tapered shape)
- Has grown measurably over a 4–6 week monitoring window
- Accompanied by other concrete settlement warning signs like pooling water or doors that suddenly stick
Shrinkage crack causes are well understood: too much water in the mix, rapid drying conditions, or inadequate curing time after the pour. None of those causes are ongoing — the crack will stop growing on its own. Structural causes, by contrast, are ongoing until the soil problem is corrected. That is the core difference in how you treat each type.
Quick check: When did the crack appear? If it showed up in the first month of a new slab, start with the shrinkage checklist above. If it appeared later — or if you noticed it widening season to season — treat it as structural until proven otherwise.
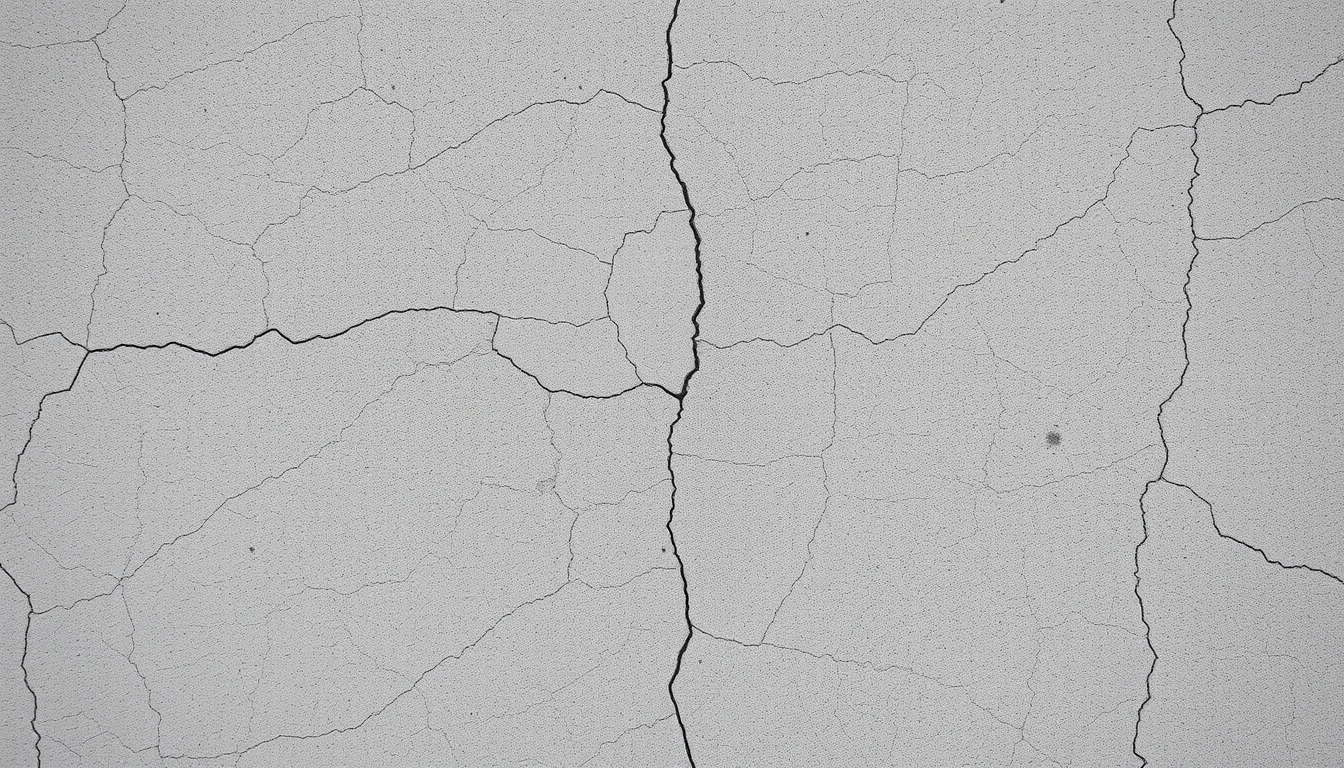
How wide does a concrete crack have to be before it’s a problem?
Once you know whether you are dealing with shrinkage or structural movement, width gives you the action threshold. The practical answer: any crack wider than 1/16 inch (1.5mm) needs sealing to stop water entry; any crack wider than 1/4 inch (6mm) needs professional evaluation for structural causes. Between those two numbers, your job is to monitor and measure before you decide.
Here is the full width spectrum mapped to action:
| Crack width | Classification | Recommended action | Why other options fail |
|---|---|---|---|
| Under 1/16 in (1.5mm) | Hairline crack | Monitor for 4–6 weeks; seal with penetrating concrete sealer if stable | Epoxy filler at this width won’t bond reliably — surface sealer is enough |
| 1/16 – 1/8 in (1.5–3mm) | Medium hairline crack | Hairline crack repair with polyurethane caulk; mark ends and monitor monthly | Rigid epoxy can crack again if slab has any seasonal movement |
| 1/8 – 1/4 in (3–6mm) | Moderate crack | Assess direction and vertical offset; get one contractor opinion before sealing | Sealing without addressing cause means the crack reappears within one freeze-thaw season |
| Over 1/4 in (6mm) | Structural crack width — act now | Professional evaluation; likely needs slab lifting or stabilization before repair | Surface patching at this width is cosmetic only and fails within months |
The structural crack width threshold of 1/4 inch is not arbitrary — it is the point at which the aggregate interlock between the two sides of a crack is effectively lost. Without that interlock, the slab can no longer transfer load evenly across the break, and traffic accelerates the damage rapidly. That is why surface patching at this width fails quickly: it addresses the surface without restoring load transfer underneath.
Quick check: Find the widest point of your crack using a crack width gauge. Map it to the table row above and follow that path — not the one that sounds least alarming.
Should I fill a small concrete crack myself or call someone?
Given what you now know about width and direction, the decision between DIY and professional help comes down to three conditions. If the crack is under 1/8 inch, stable over four weeks, and has no vertical offset — handle it yourself. If any of those three conditions fails, get a professional opinion before touching the crack. The cost of a second look is almost always less than the cost of sealing over a problem that keeps growing.
The DIY path: step by step for hairline crack repair
- Mark both ends of the crack with a permanent marker and date it. This is your baseline. Come back in four weeks and remeasure before doing anything else.
- If stable after four weeks, clean the crack with a wire brush and blow out debris with compressed air. Any dirt or vegetation left inside will prevent the filler from bonding.
- Choose the right filler: polyurethane caulk (flexible, good for cracks with seasonal movement), epoxy injection (rigid, best for cracks that are fully stable and in load-bearing areas), or a polymer-modified concrete filler (good for wider surface cracks up to 1/4 inch). Do not use standard latex caulk — it shrinks and fails within one season.
- Apply and tool the filler slightly below the surface, then feather the edges. Filling the crack flush or slightly below the surface gives it room to flex without creating a raised edge that wears unevenly under traffic.
- Seal the surrounding area with a penetrating concrete sealer (silane-siloxane type) within 48 hours of the repair drying. This reduces water entry around the repair edges.
- Remeasure at 3 months and 12 months. If the crack has reopened or widened past your repair, the cause is still active and you need a structural assessment.
When to skip DIY entirely
- The crack grew more than 1/8 inch during your monitoring window
- One side of the crack is elevated — even slightly
- The crack is in a load-bearing element (driveway apron, garage floor, foundation wall)
- You can see daylight or feel air movement through the crack (basement or crawl space wall)
For anything in that second list, you want a professional concrete leveling assessment — not because the crack itself is necessarily catastrophic, but because sealing it without addressing the soil underneath is the most common and expensive mistake homeowners make. The concrete leveling cost guide breaks down what to expect to pay before you call anyone, so you go into that conversation with realistic numbers.
Quick check: Can you check all three boxes — under 1/8 inch, stable for four weeks, no vertical offset? If yes, the six-step DIY path above is the right call. If even one box is unchecked, skip to professional assessment.
The situation-by-situation action table
The DIY vs. professional decision gets easier when you combine all three variables — width, direction, and movement — into a single lookup. Different crack profiles lead to genuinely different repair paths, so the table below maps the most common combinations to a specific action.
| Situation | Best path | Why other options fail |
|---|---|---|
| Hairline crack, straight, follows control joint, stable for 4 weeks | Seal with penetrating concrete sealer; DIY | Epoxy injection is overkill and may crack again with normal movement |
| Crack under 1/8 in, newly appeared (slab under 30 days old) | Wait 30 days, then monitor for 4 more weeks before any repair | Filling during active curing traps moisture; repair will reopen |
| Diagonal crack from corner, width 1/8–1/4 in, no offset | Mark and monitor 4–6 weeks; get contractor assessment if it grows | Sealing now without soil assessment risks recracking within one season |
| Diagonal crack from corner, over 1/4 in, one side elevated | Professional assessment now; likely mudjacking or polyurethane foam lift | Any surface repair fails without correcting the settlement underneath |
| Any crack that has grown more than 1/8 in over 6 weeks | Stop DIY attempts; schedule professional structural evaluation | Active movement means the cause is ongoing — sealing is temporary at best |
| Foundation wall crack, horizontal, over 1/8 in | Structural engineer evaluation before any other step | Horizontal foundation cracks indicate lateral soil pressure — not a DIY scenario |
Understanding the concrete settlement warning signs that accompany cracking — like doors that stick, gaps under slab edges, or water pooling in new locations — helps you contextualize what you are seeing in this table. A crack in isolation is one data point. A crack plus two other warning signs is a pattern worth acting on sooner.
When the normal advice breaks down
The table above covers the most common scenarios, but standard crack guidance assumes a standard slab in typical conditions. Several situations change the thresholds or the timing of what you should do. Here are the most common exceptions and how to handle each one.
1. New slab in hot, dry, or windy conditions
What changes: When concrete dries too fast, plastic shrinkage cracks can appear within hours of the pour — not weeks. These are not structural failures, but they can be more numerous and slightly wider than typical shrinkage cracks.
Do instead: Cover with wet burlap or a curing blanket for at least 7 days. Do not apply any sealer or filler for 28 days. After 28 days, reassess using the standard width thresholds.
2. Crack in a garage floor near a floor drain
What changes: Floor drains interrupt the continuous concrete and create a natural stress concentration point. Cracks radiating from a drain are common and often cosmetic, but they also sit in the highest-moisture zone of the floor.
Do instead: Seal these early and thoroughly with a flexible polyurethane filler. Check that the drain itself is not settling — a drain that has dropped even 1/4 inch relative to the surrounding floor is a sign of soil erosion underneath.
3. Crack that is wider in summer than winter
What changes: Concrete expands in heat and contracts in cold. A crack that measures 1/8 inch in August and 3/16 inch in January is not necessarily growing — it may be responding to seasonal thermal movement. This is normal for exterior slabs.
Do instead: Take measurements in both seasons before concluding the crack is structural. Use a flexible filler, not epoxy, for any repair — rigid epoxy cannot accommodate seasonal movement and will crack again by the following winter.
4. Crack in a stamped or decorative concrete surface
What changes: The pattern and color of stamped concrete makes cracks far more visible than they would be on plain gray concrete. Homeowners often treat cosmetic cracks in stamped surfaces as structural emergencies because they are so noticeable.
Do instead: Apply the same 1/4-inch width and vertical-offset tests as you would for any slab. The aesthetic concern is real, but repair urgency
See also: concrete settlement warning signs
See also: concrete leveling vs replacement decision
See also: concrete leveling services near me
Related: commercial floor slab settlement signs
Related: emergency concrete repair service