Concrete leveling process steps: drill, lift, patch explained
⏱️ 6 min read · Last updated: 2026
The concrete leveling process steps follow five clear stages: assess the void, drill 5/8-inch injection ports, insert the ports, inject polyurethane foam or slurry to lift the slab, then patch the holes. A technician monitors the lift in real time and stops within 1/8 to 1/4 inch of target grade. Most residential jobs finish in 1 to 3 hours, and patches cure within 24 to 48 hours before foot traffic.
- Injection ports per slab: Most residential slabs (10×10 ft to 20×20 ft) need 4 to 12 ports, spaced 4 to 8 feet apart.
- Typical lift time: Foam expands and lifts the slab in 3 to 8 minutes per port once pumping starts.
- Patch cure time: Cement grout patches are walk-on ready in 24 hours and reach full strength in 48 to 72 hours.
- Hole size: Foam injection uses 5/8″ holes; mudjacking uses larger 1″ to 2″ holes that take longer to patch.
- Typical project cost: Polyurethane foam leveling runs $500 to $1,500 for a standard driveway panel or sidewalk section in 2026.
A mudjacking crew quoted my neighbor $1,900 for her front walkway. A polyurethane foam contractor finished the same job in under two hours for $680. On paper, both quotes listed the same concrete leveling process steps — drill, fill, lift, patch. The execution, the materials, and the long-term results differed completely between the two methods. Knowing what actually happens under a slab, in sequence, helps you avoid paying for the wrong method.
Most guides skip what happens between “we drill a hole” and “the slab rises.” A real-time decision chain drives the job: where to place ports, how much foam to inject before checking lift, and when to stop. Get those steps wrong and you can crack a slab or leave a surface worse than before. This article walks through the full sequence so you know what to expect — and what to question.
The assessment that determines everything else
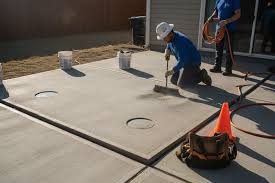
A competent contractor assesses the site before drilling a single hole, and this step is where cheap bids cut corners first. The technician walks the slab, probes the edges with a screwdriver or pry bar, and identifies the cause: soil erosion, a void beneath the slab, or full subbase failure. These are different problems with different fixes.
A slab with a void beneath it responds well to polyurethane foam injection. The foam expands to fill the gap and lifts the concrete as it cures. A slab sitting on water-saturated, compromised soil may need subbase repair before any leveling method lasts. If a contractor skips this step and goes straight to drilling, ask why.
The assessment also sets the port spacing. A small 4×4-foot section with one void near an edge might need only 2 or 3 ports. A 20-foot driveway apron with widespread settling often needs 8 to 12 ports in a grid, 4 to 6 feet apart. Once the crew sets that spacing, drilling begins. Read our full concrete leveling methods compared guide to see how each approach handles these void types.
Quick check: If your contractor spends less than five minutes assessing the slab before quoting, treat that as a yellow flag. A void beneath a 200-square-foot slab can range from half an inch to six inches deep, and the foam volume changes a lot with that depth.
Drilling and injection port placement
Drilling begins once the assessment is complete, and port placement decides whether the foam reaches every void or only the ones directly under each hole. This is the most skill-dependent part of the entire process, and most how-to content covers it in a single sentence.
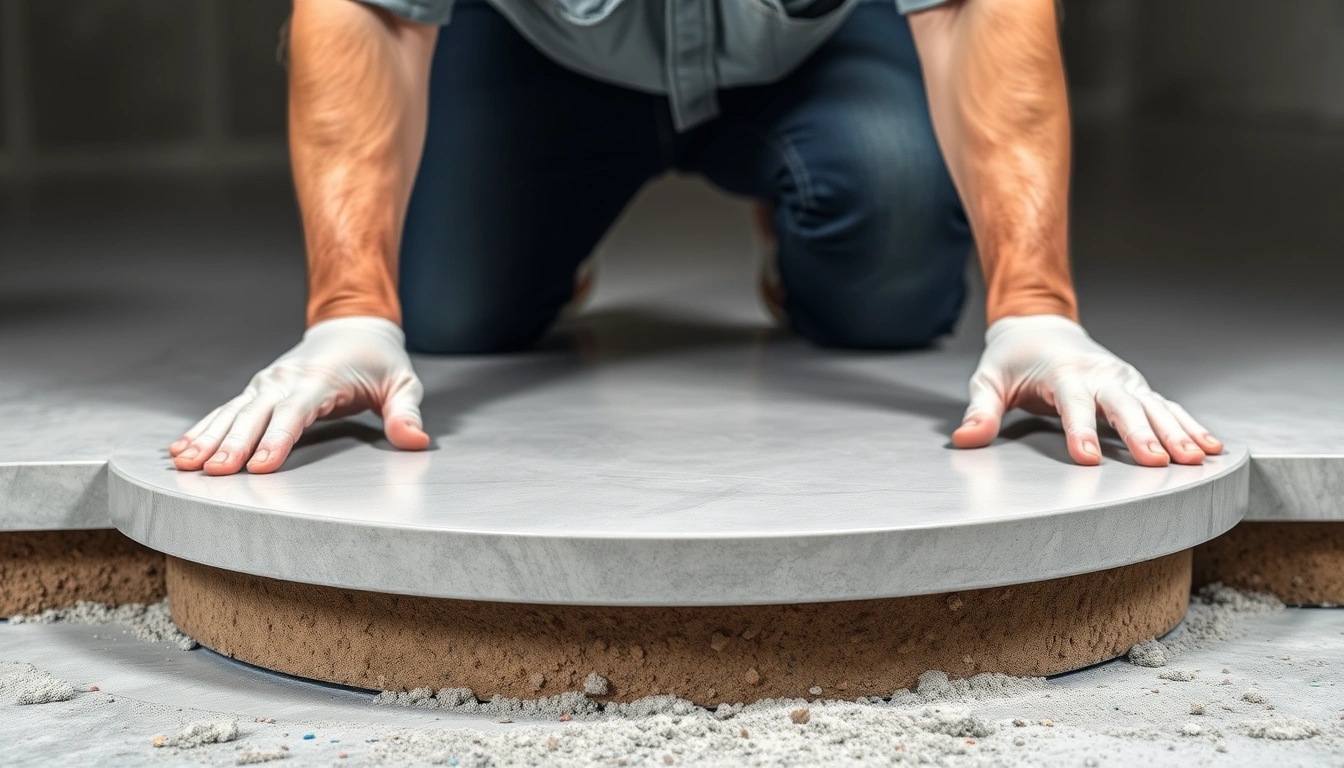
Crews drill ports in a staggered grid, not a straight line. Staggering stops the foam from channeling in one direction and missing sections of the void. For a standard driveway panel (roughly 10×10 feet), a trained crew places 4 to 6 ports in a checkerboard pattern — two near the low edge, two in the middle, one or two near the high edge to monitor over-lift.
Hole diameter matters more than most homeowners realize. Foam injection uses a 5/8-inch drill bit. Mudjacking needs a 1 to 2 inch hole because slurry does not flow as freely as expanding foam. Smaller holes disrupt less concrete surface and patch faster and cleaner. After 2026 code updates in several municipalities, contractors working near drainage or reinforced slabs must also avoid drilling within 6 inches of visible rebar or slab edges.
Port depth varies by slab thickness. Most residential slabs are 4 inches thick. The drill goes through the full slab into the void space below, not into the void itself. The crew then sets a short plastic or metal nozzle — the injection port — into the hole and attaches the foam hose to it.
Quick check: If holes go more than 8 feet apart on a larger slab, ask whether the crew will add intermediate ports. Foam injected at wide spacing can create uneven lift: high spots near ports and still-sunken areas between them.
What does the concrete leveling process actually look like from start to finish?
The full concrete leveling process runs through nine steps in a consistent order, from the first drill to the packed-up truck. On well-run jobs, the crew follows the same sequence every time. Here it is in order.
- Site prep (10–20 minutes): The crew clears the area, marks utilities (required by law in most states — dial 811 before any concrete work), and chalks hole locations from the void assessment.
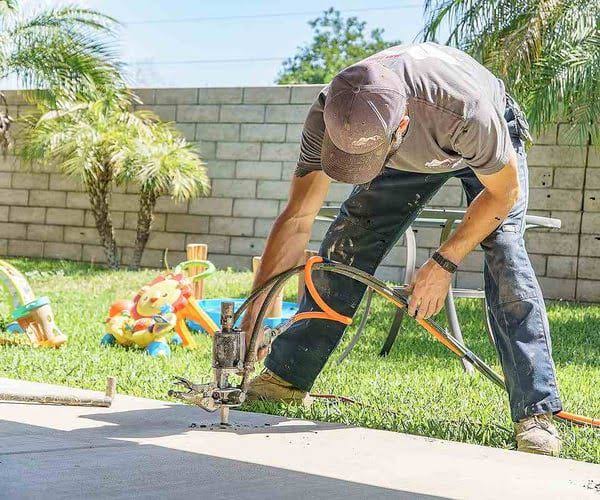
- Drilling (15–40 minutes): A rotary hammer drill bores 5/8-inch holes through the slab at each marked spot. A standard driveway panel takes 15 to 20 minutes. Larger or reinforced slabs take longer.
- Port insertion: The crew sets short injection ports into each hole. These fittings connect the foam hose to the void below and keep foam from backflowing up through the hole.
- Void filling foam injection (3–8 minutes per port): The technician connects the two-part polyurethane foam hose to the first port, usually at the lowest corner. The polyol and isocyanate components mix at the gun and expand underground, reaching 20 to 30 times their liquid volume within seconds.
- Lift monitoring: A second crew member watches the slab surface and joints with a level or laser. Injection stops at target grade, usually within 1/8 to 1/4 inch of the adjacent slab.
- Sequential injection: The crew moves port to port in a planned low-to-high sequence, injecting small test bursts first to gauge spread before committing to full volume. An experienced crew feels resistance changes through the hose that signal a filled void.
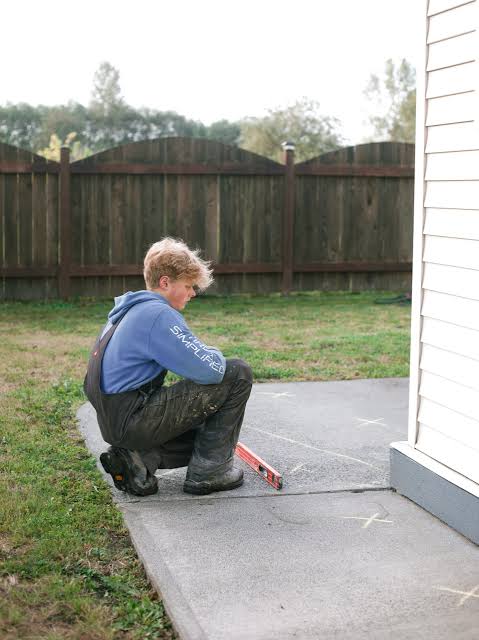
- Final level check: After all ports are injected, the crew makes a final pass with a 4-foot level or laser to confirm grade across the slab. If low areas remain, the crew adds spot injections before moving on.
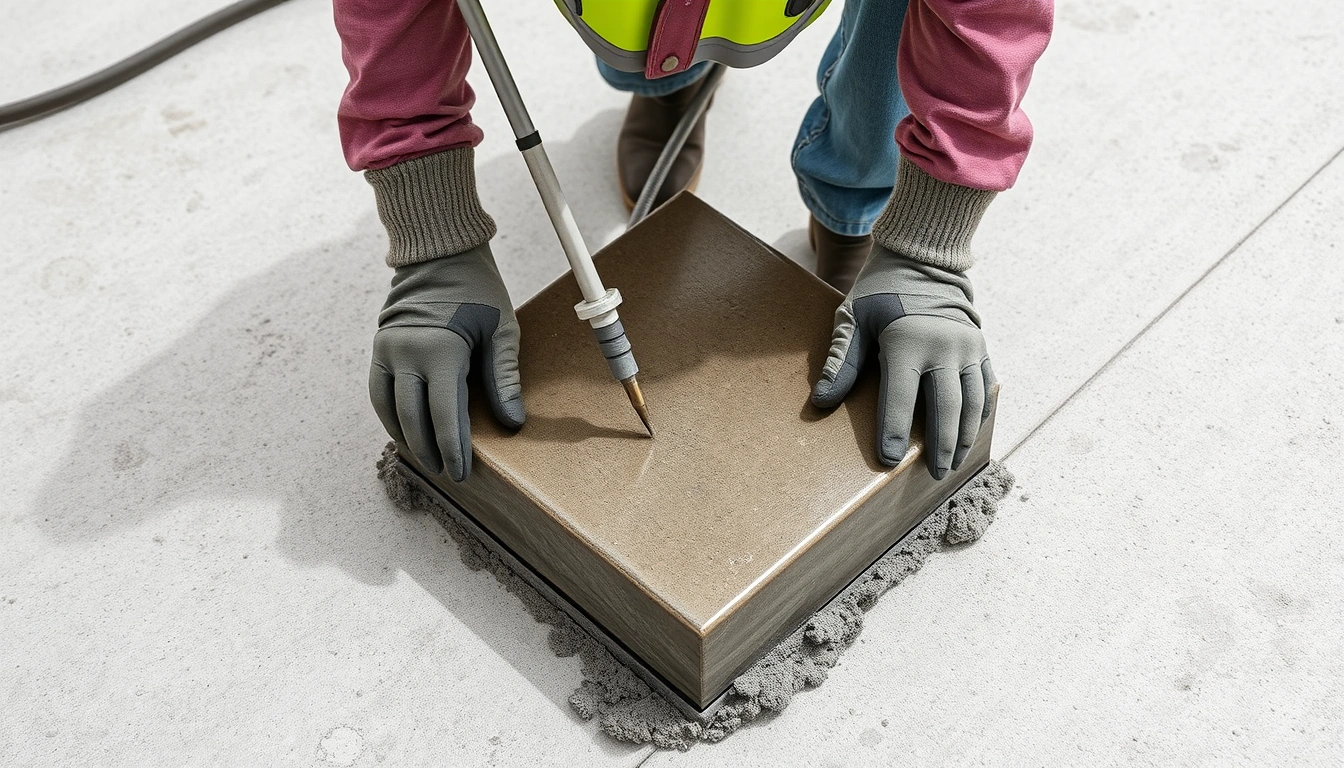
- Port removal and hole patching: The crew removes the ports and fills the holes with hydraulic cement or rapid-set grout.
- Cleanup and cure: The crew clears the area. The foam cures rigid in 15 to 30 minutes. Hole patches need 24 to 48 hours before heavy foot traffic and 72 hours before vehicle traffic in most cases.
On a standard two-panel driveway apron, the entire process — drill to packed-up truck — usually takes 90 minutes to 2.5 hours with a two-person crew.
One detail most guides miss: experienced crews inject in several small bursts per port rather than one continuous flow. Each burst lets the foam partially expand so the crew can check lift before adding more. Over-injection is the main cause of cracked slabs during foam leveling, and it happens when technicians rush the lift phase. Knowing why each step exists helps you hold any contractor accountable.
Quick check: If your crew injects each port in one long shot without pausing to check lift, that signals inexperience or rushing. Small bursts with level checks between them is the correct technique.
Void filling: foam vs slurry in the concrete leveling process
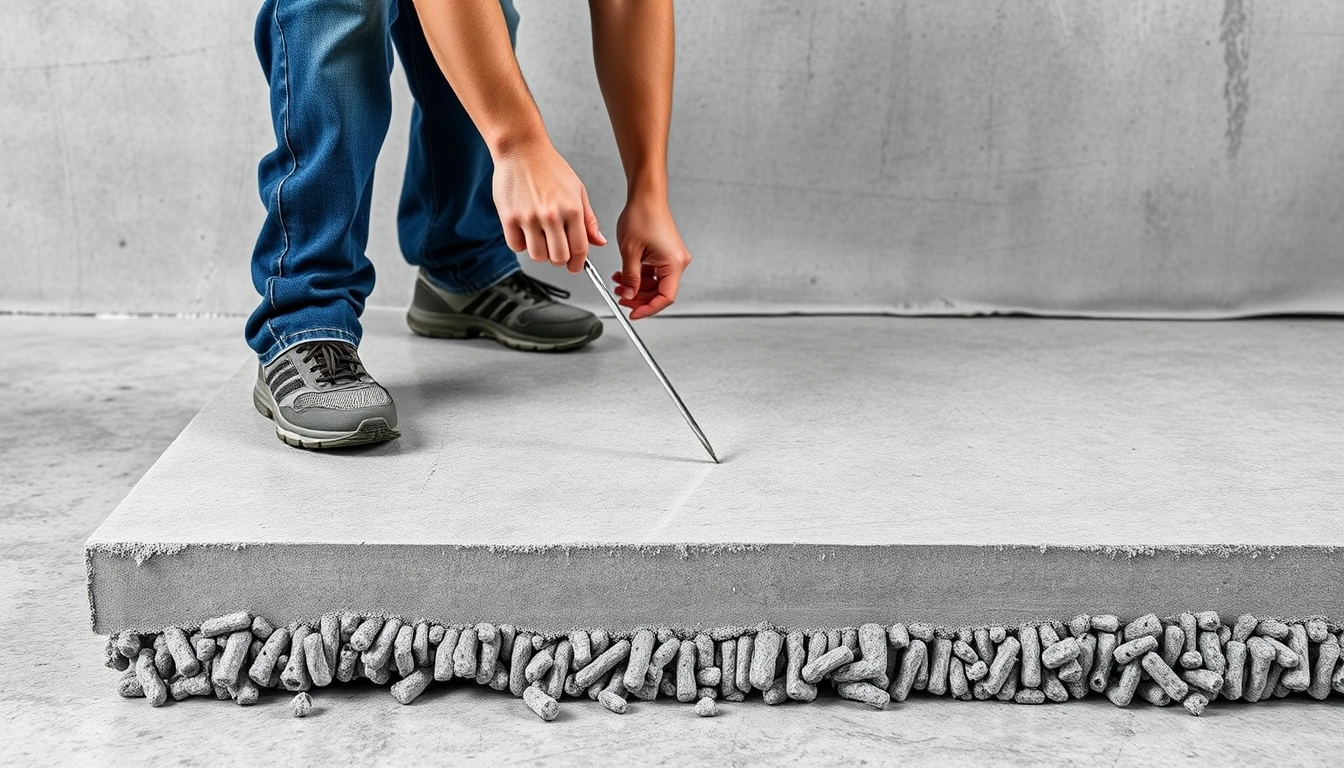
Polyurethane foam and mudjacking slurry follow the same general steps but diverge sharply during the void filling phase. Those differences affect both the quality of the lift and how your slab looks afterward. The table below compares the two side by side.
| Factor | Polyurethane foam injection | Mudjacking (slurry) |
|---|---|---|
| Hole size required | 5/8 inch | 1–2 inches |
| Void filling material weight | ~2 lbs per cubic foot (cured) | ~100 lbs per cubic foot |
| Lift time per port | 3–8 minutes | 5–15 minutes |
| Ready for foot traffic | 15–30 minutes after injection | 24–48 hours |
| Risk of adding load to weak soil | Low — foam is lightweight | Higher — slurry adds significant weight |
| Patch visibility after repair | Minimal (small holes) | More visible (larger patches) |
| Best for freeze-thaw climates | Yes — foam doesn’t absorb water | Riskier — slurry can erode with water intrusion |
The weight difference is the most underappreciated factor in this choice. Slurry adds roughly 100 pounds per cubic foot beneath your slab. On weak or compressible soil, that added mass can speed up future settlement instead of preventing it. Foam adds almost no weight — it supports load through its rigid cellular structure, not mass.
If you live in a region with hard winters, the concrete leveling for freeze-thaw climate considerations make foam the stronger default. Slurry beneath a slab in a freeze-thaw zone can absorb water, expand with frost, and re-heave the slab through a different mechanism than the original settling. You can also compare both methods in our concrete leveling methods compared guide.
Quick check: If your area sees more than 30 freeze-thaw cycles per year, foam is almost always the better void filling method — not because foam companies say so, but because slurry’s water absorption is a documented long-term liability in those conditions.
How are the injection holes patched after leveling?
Patching is the final step: the crew fills the injection holes with hydraulic cement or rapid-set grout, presses it flush with the slab, and smooths it level within minutes of removing the ports. The patch is a minor cosmetic element, but the method still matters for durability.
For 5/8-inch foam holes, most crews pack pre-mixed hydraulic cement into the hole with a gloved finger or putty knife, then level it flush with the surrounding surface. On mudjacking’s larger 1 to 2 inch holes, crews use a dry-pack mortar or vinyl concrete patcher and sometimes texture it lightly to match the surrounding finish.
Patch cure time runs about 24 hours for foot traffic and 48 to 72 hours before vehicle traffic. Rapid-set repair products (such as Quikrete FastSet Repair Mortar or similar) can reach foot-traffic strength in 1 to 4 hours. Temperature matters: patches cure slower below 50°F, and crews should not apply them if temperatures will drop below 40°F within 24 hours.
Contractors rarely mention one detail upfront: on an exposed aggregate or stamped finish, patching leaves a visible mark. Color-matched material cannot fully replicate the surrounding texture, so the repair shows on decorative surfaces. For stamped or exposed aggregate concrete, factor this into your concrete leveling vs replacement decision before you commit to injection.
Quick check: Ask your contractor what patching material they use and whether they will texture-match stamped or exposed aggregate surfaces. If the answer is “standard grout” on a decorative slab, expect visible patches.
When the standard concrete leveling process breaks down: 5 edge cases
The process above works reliably on typical residential slabs. These five situations change the equation, and knowing them helps you ask the right questions before work begins.
1. The slab is thinner than 3.5 inches
Older walkways and some patio slabs were poured at 2.5 to 3 inches. Foam expansion beneath a thin slab can crack it rather than lift it, especially near edges. Here, the crew should reduce injection pressure and space ports closer together — 3 feet apart rather than 6 — to spread the lift force over more points. If the slab already shows hairline cracks, get a structural assessment before any leveling begins.
2. The void is more than 4 inches deep
Deep voids need more foam, which means more heat during curing, since polyurethane foam cures ex
Common questions about the concrete leveling process
How long does concrete leveling take?
Most residential jobs finish in 1 to 3 hours. A standard two-panel driveway apron with a two-person crew runs 90 minutes to 2.5 hours from drill to packed-up truck. Foam cures rigid in 15 to 30 minutes, so you can often walk on the slab the same day.
How soon can I use the slab after leveling?
With polyurethane foam, foot traffic is fine 15 to 30 minutes after injection once the foam cures. Hole patches need about 24 hours for regular foot traffic and 48 to 72 hours before vehicle traffic. Mudjacking slurry takes 24 to 48 hours before any traffic.
Does concrete leveling last?
When the underlying soil is stable, a properly leveled slab holds for many years. Polyurethane foam does not absorb water or wash out, so it outlasts slurry in freeze-thaw regions with more than 30 cycles per year. If unstable subbase soil caused the settling, that soil should be addressed first or the slab can settle again.
How many injection holes will my slab need?
Most residential slabs (10×10 ft to 20×20 ft) need 4 to 12 ports spaced 4 to 8 feet apart. A small 4×4-foot section may need only 2 or 3 ports, while a 20-foot driveway apron with widespread settling often needs 8 to 12 in a staggered grid.
Is foam or mudjacking better?
Foam uses smaller 5/8-inch holes, weighs about 2 lbs per cubic foot versus slurry’s 100 lbs, cures in minutes rather than a day, and resists water. Mudjacking costs less on some large jobs but adds weight and patches more visibly. For most residential work, foam is the stronger default.
Related: Key takeaways · concrete leveling cost
See also: concrete leveling cost guide
See also: concrete leveling services near me
See also: concrete leveling methods compared