“`html
Garage floor settlement: concrete leveling that works
⏱️ 7 min read · Last updated: 2026
- Typical cost: Polyurethane foam injection runs $3–$7 per square foot; mudjacking runs $1.50–$4 per square foot for comparable garage floor areas as of 2026.
- Cure time before parking: Polyurethane foam reaches load-bearing strength in 15–30 minutes; mudjacking requires 24–48 hours before vehicle traffic.
- Typical settlement depth: Garage floor slabs commonly settle 1–3 inches; anything beyond 4 inches typically signals soil failure and may require evaluation for partial replacement.
- Moisture barrier: An existing moisture barrier beneath the slab can limit foam spread during injection — technicians should probe the void before injecting to avoid pressure buildup against an intact barrier layer.
- Enclosed-space ventilation: Polyurethane foam injection in an attached garage slab requires open-door ventilation during application; the expanding foam off-gasses isocyanate compounds that require fresh air exchange.
Why garage floors settle differently than driveways
Garage floor settlement is not the same problem as a sunken driveway panel, and treating it like one is where most concrete leveling repairs go sideways. A garage floor operates under three conditions that outdoor concrete never faces: repeated concentrated vehicle load over a small area, reduced moisture evaporation because the slab is enclosed, and a soil base that was often poorly compacted when the garage was originally built.
The settlement pattern tells you a lot about the underlying cause. If the slab dips near the garage door threshold, that corner sees the highest load cycling — every tire crossing it compresses the soil just a little more each time. If the drop is in the center or back wall, it usually points to long-term soil washout from a drainage problem, often a gutter downspout discharging too close to the foundation.
Attached garage slabs commonly reach 1.5–2.5 inches of settlement before anyone calls for a concrete leveling repair. Settlement in enclosed spaces tends to go undetected longer than it would outdoors — a homeowner may only notice when the garage door starts binding, even though the slab has been moving for years. Catching it early, before it exceeds three inches, keeps foam injection on the table and full slab replacement off it.
Garage floor slabs are typically poured at 4 inches thick with minimal rebar — strong enough to bear vehicle weight when fully supported, but brittle once the soil beneath shifts even an inch.
How polyurethane foam injection actually works under a slab
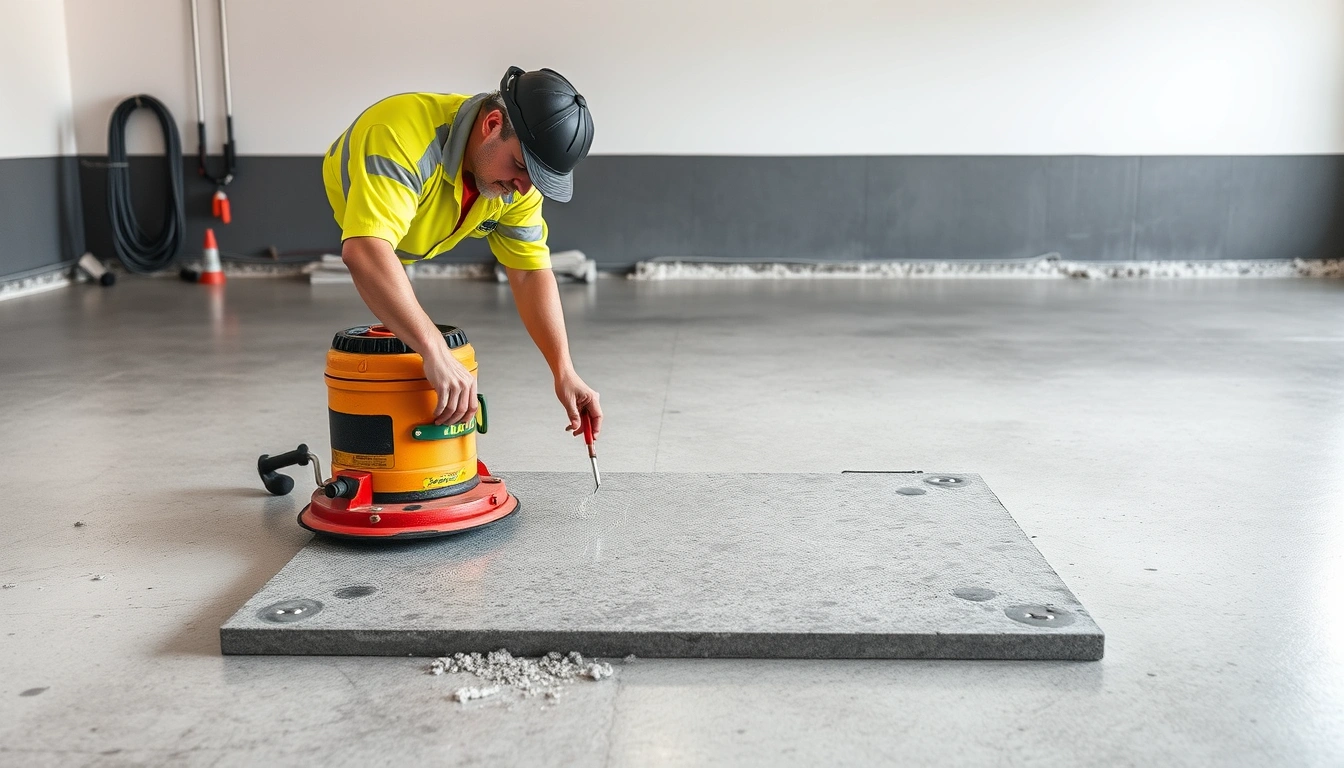
Understanding exactly how foam injection works helps you evaluate a contractor’s technique and catch mistakes before they cost you money. The process fills the void beneath a settled slab and lifts it back to grade by expanding under controlled pressure. A technician drills small holes — typically 5/8 inch in diameter — through the concrete at calculated injection points. Two-part polyurethane resin is pumped through each port; the components react on contact, expanding to fill the void and exerting upward pressure that raises the slab.
The key detail most people miss is that foam does not push down into the soil the way mudjacking slurry does. It expands laterally and upward, bridging the void. A trained technician injects in short bursts, watches the slab edge for movement, and pauses between injections. That pause-and-check method is what separates a clean lift from an over-raise that cracks an already weakened concrete leveling candidate.
Once the foam cures — typically 15 minutes at room temperature — it becomes a rigid, closed-cell mass that does not shrink, wash out, or absorb water. This durability is a meaningful advantage in an enclosed garage slab where soil moisture is trapped and conventional fill material would deteriorate over time.
| Injection point spacing | Typical void depth | Lift achievable | Ports needed (per 100 sq ft) |
|---|---|---|---|
| Every 18–24 inches | Under 1 inch | 0.5–1 inch | 8–12 |
| Every 12–18 inches | 1–2 inches | 1–2.5 inches | 12–20 |
| Every 10–12 inches | 2–4 inches | 2–4 inches | 20–35 |
Is foam injection safe to use inside an attached garage?
Yes — polyurethane foam injection is safe for concrete leveling inside an attached garage, provided the garage door stays fully open during application and for 30 minutes afterward. This is the single most important enclosed-space consideration that outdoor-focused concrete repair guides simply do not address.
Two-part polyurethane systems off-gas isocyanate compounds during the mixing and expansion phase. These are the same compounds used in spray foam insulation, and they irritate mucous membranes and airways at concentrated indoor levels. Inside an enclosed garage with a closed door, they can build to uncomfortable levels within 20 minutes of injection beginning.
The practical fix is straightforward: open the garage door fully before the technician begins. If the garage is attached to the house, keep the interior door closed during application and for at least 30 minutes after the last injection port is filled. The foam itself — once cured — is inert. The ventilation concern is limited to the active injection window, not the finished concrete leveling repair.
Once polyurethane foam is fully cured — typically within 30 minutes of injection — it is chemically stable, non-toxic, and safe for enclosed garage environments including spaces adjacent to living areas.
What vehicle load capacity means for your repair choice
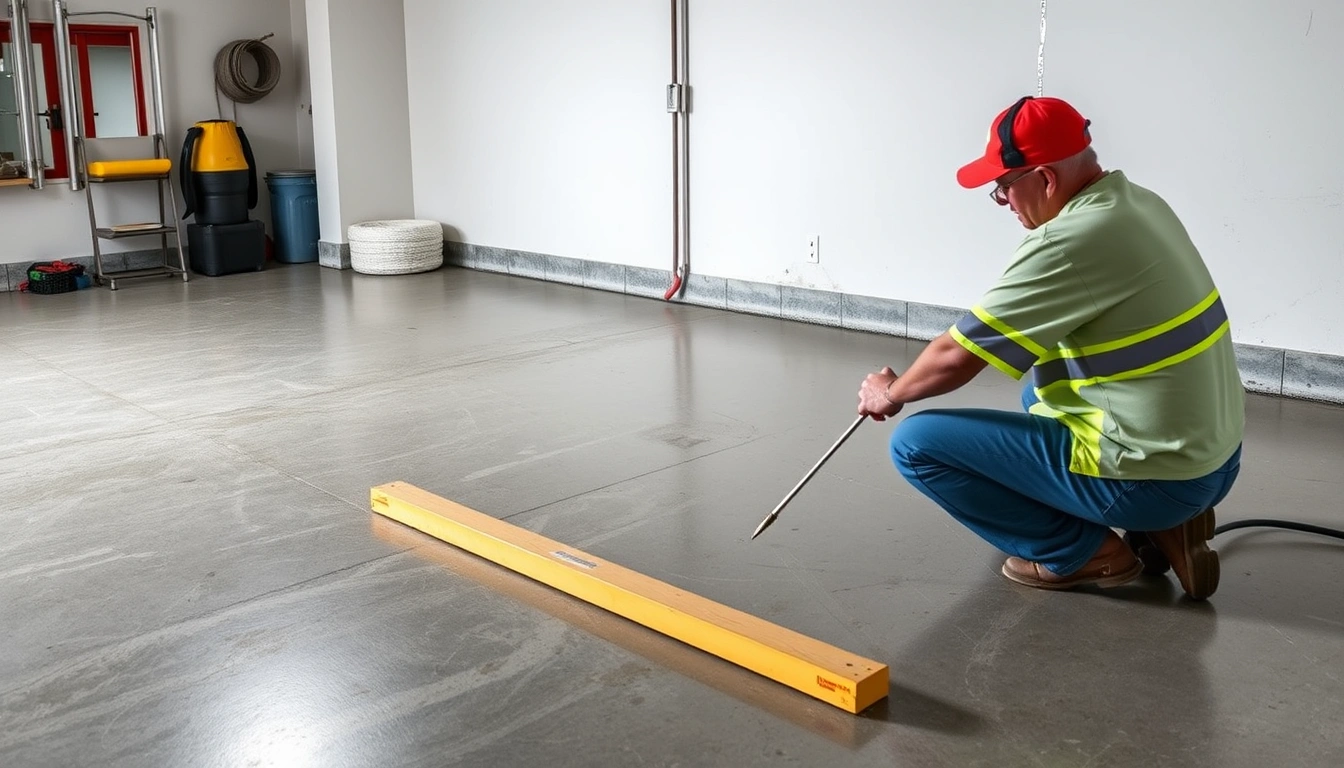
Vehicle load capacity is the factor that most guides treat as a footnote — yet it determines whether your concrete leveling repair lasts two years or twenty. A standard two-car garage floor is engineered to support a live load of roughly 40–50 pounds per square foot, which sounds like a lot until you recognize that a full-size truck or SUV concentrates its weight through four tire contact patches, each roughly the size of a sheet of paper.
Mudjacking adds 100–150 pounds per cubic foot of cementitious slurry beneath the slab. For a severely settled floor, that added subbase weight increases the burden on a soil layer that was already failing — which is why mudjacking can accelerate re-settlement rather than prevent it on garage floors with ongoing soil weakness.
Polyurethane foam weighs approximately 2–4 pounds per cubic foot after curing. It provides comparable or superior compressive strength for typical vehicle loads while adding almost nothing to the soil’s burden. If you park a vehicle over 5,000 pounds — a full-size pickup, an SUV, or a panel van — foam injection’s weight advantage is material, not marginal. The table below shows how vehicle weight scales with the preferred concrete leveling method.
| Vehicle type | Approx. weight (lbs) | Load per tire patch (est.) | Preferred repair method |
|---|---|---|---|
| Compact car | 2,800–3,500 | 700–875 lbs | Either method adequate |
| Midsize sedan/SUV | 3,500–5,000 | 875–1,250 lbs | Foam preferred |
| Full-size truck/SUV | 5,000–7,000+ | 1,250–1,750+ lbs | Foam strongly preferred |
How do I level a garage floor that has settled and cracked?
With the right method selected based on your vehicle load and garage setup, the next question is execution. Concrete leveling for garage floor settlement follows a specific sequence — skipping any step is what produces repairs that look good for six months and then re-settle. Below is the process a reputable contractor follows, with what to watch for at each stage.
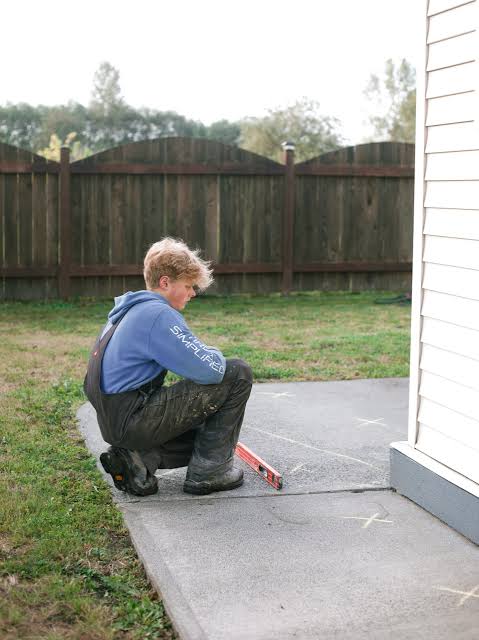
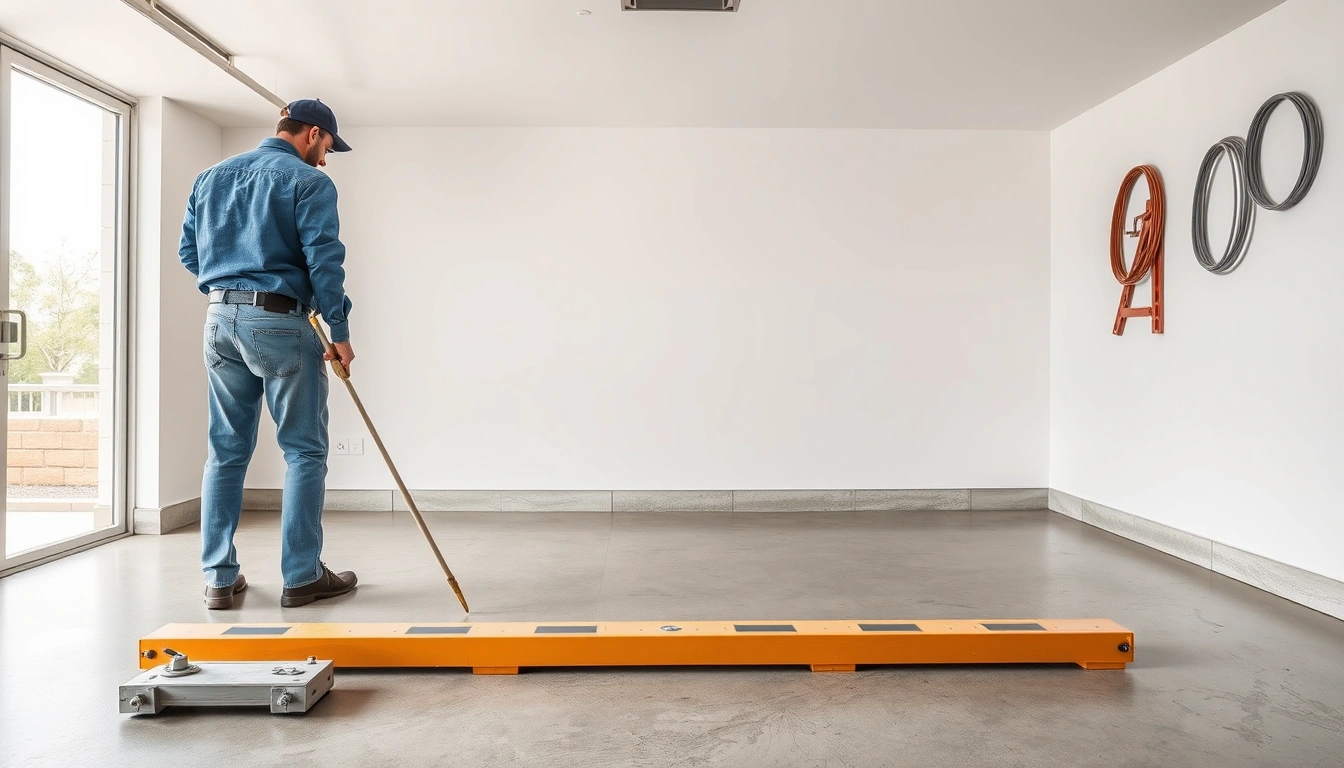
- Assess settlement depth: Use a long straightedge or laser level to measure the low point relative to the door threshold. Record the exact measurement. Do not start any concrete leveling repair until you know whether you are dealing with 1 inch or 3 inches — the injection density differs significantly.
- Identify the cause: Check exterior downspouts, soil grade, and any visible soil erosion beneath the door threshold. If water is actively draining toward the slab, fix that first. Injecting foam into a slab with an active water source beneath it will not hold — the same erosion that caused the settlement will continue after the repair.
- Map the injection grid: Mark injection points on the slab with chalk. For typical garage floor settlement of 1–2 inches, space ports every 16–18 inches in a diagonal grid pattern — not a square grid, which leaves triangular voids untreated.
- Drill the injection ports: Use a rotary hammer with a 5/8-inch bit. Drill through the full slab thickness — 4 inches is typical — but do not punch aggressively into the void beneath. Check what comes back out: dry dust means a dry void; damp or dark material signals moisture accumulation the repair crew needs to account for before injecting.
- Inject foam in controlled bursts: Work from the low point outward. Inject for 5–8 seconds, pause, watch for slab movement at the crack or panel edge. Continuous injection until the slab lifts risks over-pressurizing and cracking an already weakened section.
- Check level between ports: Use a laser level or a 4-foot bubble level after every third injection point. The goal is to restore the original slope — typically 1/8 inch per foot toward the garage door for drainage — not to achieve a perfectly flat floor.
- Fill and patch ports: Once the foam is cured (15–30 minutes), fill drill holes with a fast-setting Portland cement grout. Flush with the surface. Let it cure 1 hour before foot traffic.
- Seal the cracks: Use a self-leveling polyurethane sealant for cracks up to 1/2 inch wide. For cracks wider than 1/2 inch, a backer rod plus sealant provides better long-term performance. Avoid hydraulic cement in a traffic crack — it is rigid, bonds poorly to moving concrete, and typically fails within 18 months.
Foam vs mudjacking for a garage floor: the honest comparison
Now that you understand both methods, it is easier to see where each one fits. For concrete leveling for garage floor settlement specifically, polyurethane foam injection wins on nearly every practical criterion — but mudjacking is not without a place. Mudjacking makes financial sense when the settled slab is large, the settlement is shallow (under 1 inch), and you can wait 24–48 hours before parking. That combination is rare in a working garage.
For a detailed breakdown of what each method costs per project rather than just per square foot, the mudjacking vs polyurethane cost comparison covers real project figures that change the math considerably once you factor in mobilization fees and patch work.
The case for foam in a garage specifically comes down to three things mudjacking cannot match in an enclosed space: cure time (park in 30 minutes vs. 48 hours), the weight added to already-stressed soil (2–4 lbs/ft³ vs. 100–150 lbs/ft³), and the fact that foam does not require water-mixing on site — no hoses, no mess on a finished garage floor.
In an attached garage with daily vehicle traffic, mudjacking’s 24–48 hour cure window alone is often a dealbreaker — most households cannot leave a vehicle outside for two full days on short notice.
One situation where mudjacking does make sense: a detached, rarely-used garage or workshop slab where settlement is minor and budget is the primary constraint. At $1.50–$4 per square foot versus $3–$7 for foam, mudjacking on a 400-square-foot single-car garage floor can save $600–$1,200. If you have the downtime and stable soil conditions, that difference is real money. To see where each method fits within the larger repair decision tree — including when full replacement is the right call — the concrete leveling methods compared page gives a full breakdown including replacement criteria.
The mistakes that make garage floor settlement worse
Even with the right concrete leveling method selected, repairs fail more often because of what happens before and after injection than because of the injection itself. Knowing these errors before you schedule a crew can save you from a repeat repair.
- Ignoring the moisture barrier: Many garage slabs were poured over a 6-mil polyethylene moisture barrier. If that barrier is intact, foam injected at high pressure will pool above it rather than spreading into the soil void beneath. A technician who does not probe for this will over-inject one area while an adjacent void stays empty — leaving a floor that is level in one corner and still low in another. Ask your contractor whether they probe for a moisture barrier before injection. For more on how slab conditions affect repair outcomes, see our guide to slab void detection methods.
- Filling cracks before lifting: This is the most common DIY error. Sealing a crack before lifting the slab bonds the sections together — when foam injection then moves the slab, the repair fractures and often takes surrounding concrete with it. Lift first. Seal after.
- Choosing a contractor by price alone: Foam injection quality depends almost entirely on technique and foam product density. A low-density foam — common in budget bids — may cure quickly but lacks the compressive strength for sustained vehicle load. Ask for the foam product name and its post-cure compressive strength rating. Structural-grade polyurethane for concrete leveling should reach 60+ PSI at minimum.
- Not addressing drainage before repair: Concrete leveling for garage floor settlement lasts as long as the soil stays stable. If the soil washed away because of poor drainage, and you repair the slab without fixing the drainage, the same process repeats — typically within 3–7 years. Our garage drainage solutions page covers the most common fixes.
- Expecting a perfect floor: A settled and cracked garage slab will be structurally sound and functionally level after a good foam repair. It will not look brand new. Drill holes will show, hairline cracks will remain visible, and the slab may have minor surface variations. If cosmetic perfection is the goal, overlayment or full replacement is the only path there.
- Polyurethane foam injection is the right concrete leveling method for most attached garage slabs in 2026 — it cures in 15–30 minutes, adds minimal weight, and handles repeated vehicle load better than mudjacking.
- Enclosed-space foam application is safe as long as the garage door is fully open during injection and for 30 minutes after — this is the step most outdoor-focused guides miss entirely.
- Always fix drainage before you fix the slab; a concrete leveling repair over an unresolved water problem typically re-settles within 3–7 years.
- Ask any foam contractor for the product’s post-cure compressive strength — structural slab lifting requires 60+ PSI minimum for vehicle load capacity.
Common questions about concrete leveling for garage floor settlement
What causes a garage floor to settle and crack over time?
The most common causes are poorly compacted soil at original construction, soil erosion from water infiltration beneath the slab, and repeated vehicle load concentrating pressure on the same small areas. Attached garage slabs are especially vulnerable because roof runoff, interior condensation, and vehicle drip all concentrate moisture in one enclosed zone.
How much does it cost to level a garage floor in 2026?
See also: concrete leveling methods compared
See also: mudjacking vs polyurethane cost comparison
See also: concrete leveling cost guide
Related: driveway apron leveling
Related: concrete leveling warranty comparison
Related: slab drop measurement


Related Posts
Concrete Leveling Process Steps: Drill, Lift, Patch Explained
Polyurethane vs mudjacking for driveway