“`html
DIY concrete leveling vs professional: which one to choose
⏱️ 7 min read · Last updated: 2026
- DIY foam kit cost: $150–$400 per kit (covers roughly 25–50 sq ft of minor settling).
- Professional polyurethane foam leveling cost: $500–$1,500 for a typical residential slab, depending on region and slab size.
- Slab size threshold: DIY concrete leveling is generally appropriate for slabs under 40 sq ft with a vertical drop of ½ inch or less; larger or deeper jobs have a significantly higher DIY failure rate.
- DIY failure risk: Uneven foam injection on slabs larger than 40 sq ft commonly causes cracking or re-settling within 12–24 months, requiring professional correction at additional cost.
- Self-leveling compound: Best for interior floors only — fills surface voids up to ¾ inch deep but does not address soil subsidence, the root cause of slab sinking.
A mudjacking crew quoted my neighbor $1,900. The foam contractor did the same sunken driveway panel for $800 in under two hours. When she asked whether DIY concrete leveling vs professional was even worth comparing for her situation, the answer was clear: at 120 square feet and a 1.5-inch drop, no kit was going to handle that job safely. But her sister’s single settled sidewalk panel — 16 square feet, a quarter-inch lip — was a completely different story.
The problem with most advice on this topic is that it treats all sunken concrete the same. It skips the actual numbers where DIY stops making sense, fails to warn you that self-leveling compound fixes surface irregularities but does nothing about the soil void underneath, and never explains what a failed DIY attempt costs when you have to hire a pro to fix what you broke. This guide covers all three.
I’ve watched both approaches up close — tracked costs, talked to contractors, and seen what happens when a DIY foam kit meets a slab it can’t handle. Here’s the honest breakdown.
The real difference between DIY and professional concrete leveling
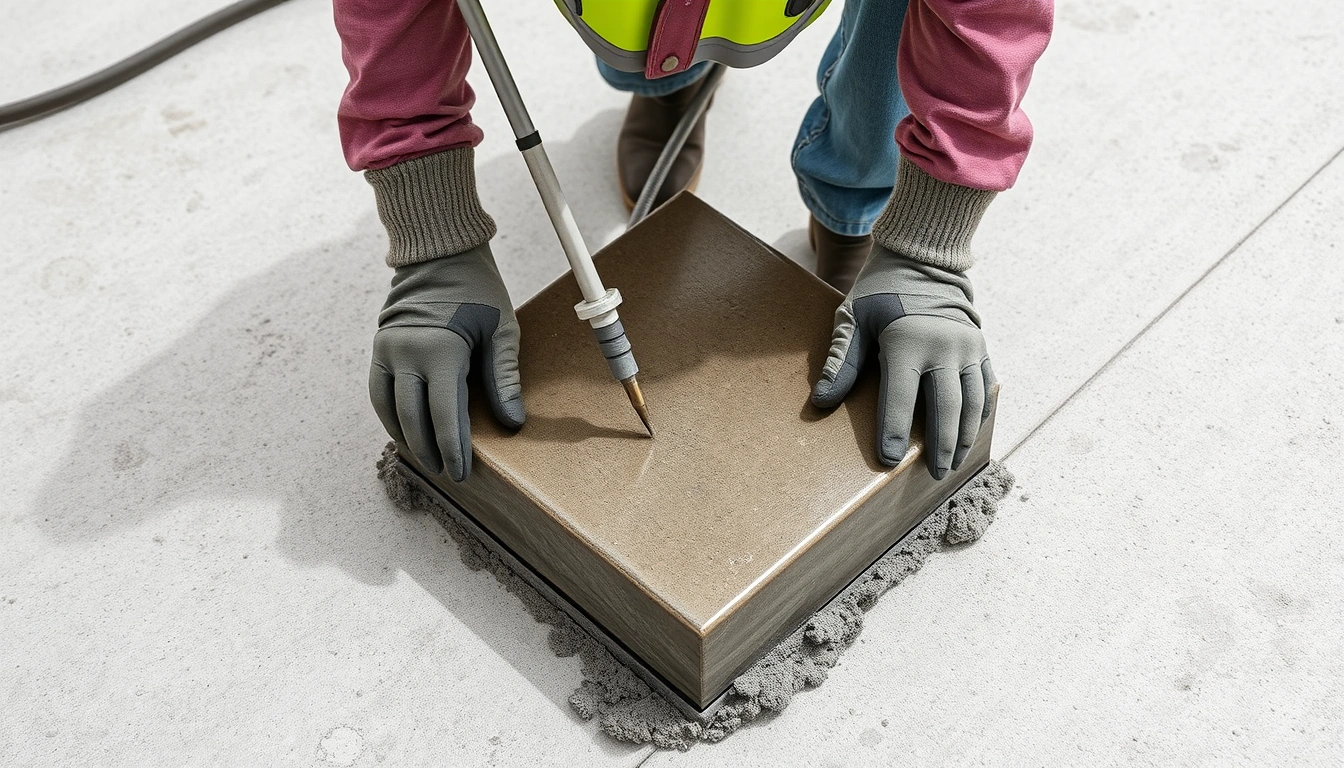
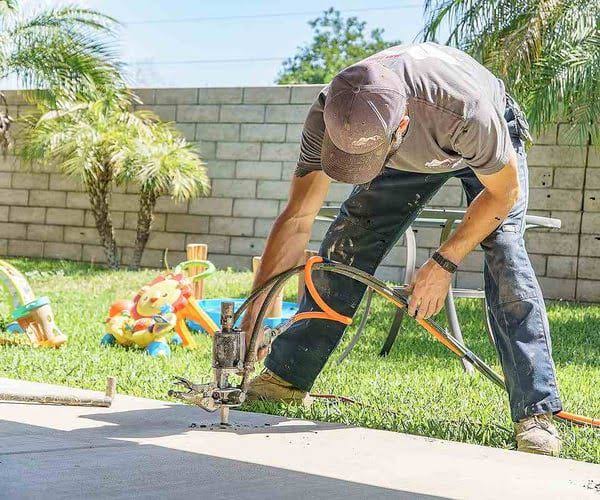
The core difference is not price — it’s precision of foam placement and the ability to identify what’s underneath the slab before injecting anything. Professional polyurethane foam leveling uses small drilled ports and calibrated injection equipment to deliver expanding foam at exactly the depth needed to fill voids and lift the slab uniformly. A DIY foam kit uses the same basic chemistry, but with far less control over pressure, volume, and placement.
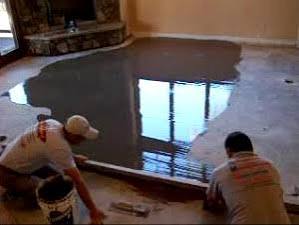
Self-leveling compound — the product most DIYers reach for first — doesn’t even address the same problem. It fills surface dips on interior floors. If your slab has sunk because the soil beneath it eroded or compressed, pouring self-leveling compound on top is the equivalent of painting over a water stain without fixing the leak. It looks better for a few months, then fails.
Mudjacking, the older professional method, pumps a cement-sand slurry beneath the slab through larger holes. It’s heavier than polyurethane foam, which matters on slabs with already-compromised soil. Reviewing the concrete leveling method statistics shows that polyurethane foam has largely displaced mudjacking for residential work in 2026, precisely because the lighter material doesn’t re-compress the soil underneath.
Understanding these method differences is the foundation for everything that follows — because the right choice between DIY and professional concrete leveling depends entirely on which method your slab actually needs.
The method that works on a 20-square-foot sidewalk panel will not scale to a 200-square-foot driveway apron — and attempting it can cause lateral cracking that wasn’t there before.
When DIY concrete leveling actually works
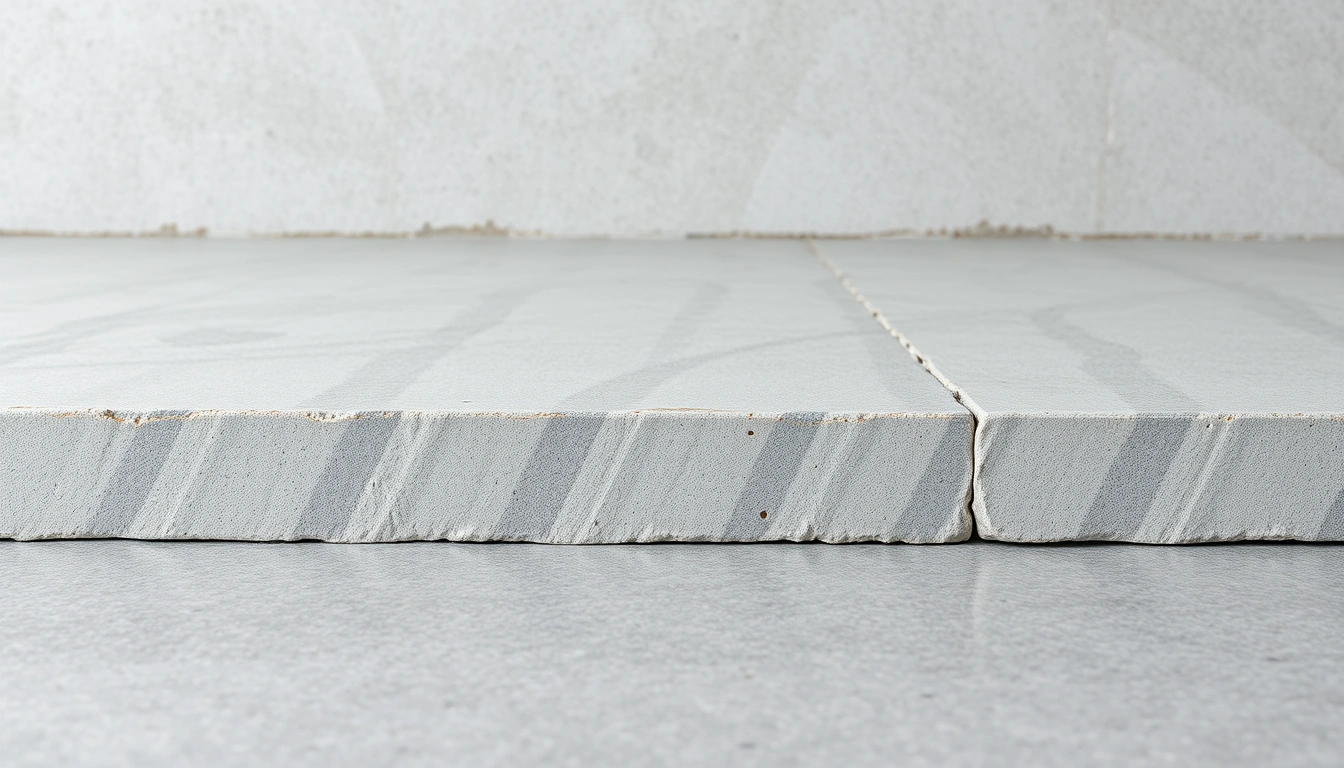
With a clear picture of what each method does, it’s easier to see where DIY concrete leveling earns its place. It wins on small, isolated slabs where the soil void is shallow and clearly defined. A single sidewalk panel that has tipped a quarter-inch to one side, a small patio step that has settled half an inch, a garage floor seam with a minor lip — these are the legitimate use cases for a DIY foam kit in 2026.
The slab size threshold that matters most
Keep your slab under 40 square feet and your vertical drop at or below half an inch. Within those limits, a quality two-part polyurethane DIY foam kit — brands like Slab Medic or PolyLevel’s homeowner-grade kits — can inject expanding foam through drilled ports and raise the slab adequately. The kit covers roughly 25–50 square feet depending on the depth of the void, and the foam sets in 15 minutes.
The reason the threshold matters is straightforward: larger slabs require multiple injection points timed in sequence. Professional crews use two-component proportioning equipment that controls expansion rate precisely. A DIY foam kit gives you a single mixed-on-contact cartridge — effective at small scale, unreliable at large scale, where uneven expansion can introduce new stress cracks rather than fix the existing problem.
Where self-leveling compound fits
Self-leveling compound belongs indoors, on structurally sound slabs that have surface irregularities — grinding marks, shallow depressions up to ¾ inch, or floor prep before tile installation. It does not belong on any outdoor slab that has sunk due to soil movement. Using it outdoors means the underlying problem is still active, and you’ll be back at the hardware store within a season. For more on choosing between surface products and subsurface repair, see our guide on self-leveling compound vs foam injection.
The specific situations where hiring a professional wins
Once you move past the narrow conditions where DIY concrete leveling succeeds, professional service becomes the right call. That’s true whenever the slab exceeds 40 square feet, the drop is greater than half an inch, or you can see the void is actively growing — meaning the soil underneath is still moving. In those situations, a DIY foam kit doesn’t just underperform; it can make the repair more expensive by cracking the slab unevenly or providing false stabilization that masks ongoing subsidence.
The three scenarios where DIY failure risk is highest
- Driveways and garage slabs: Vehicle weight combined with a partially filled void will collapse the foam and re-sink the slab, sometimes asymmetrically.
- Pool surrounds and patio slabs over 60 sq ft: Foam expansion is hard to control uniformly across large surface areas without professional equipment.
- Any slab near a foundation or retaining wall: Improper foam pressure against a foundation wall can introduce lateral stress. Work this close to a structure requires professional assessment and calibrated equipment.
Professional polyurethane foam leveling typically costs $500–$1,500 for standard residential work. Check the concrete leveling cost guide for a full breakdown by slab type and square footage. That price gap between DIY ($150–$400) and professional narrows considerably once you factor in a single failed DIY attempt and the cost of re-repair.
The honest side-by-side comparison
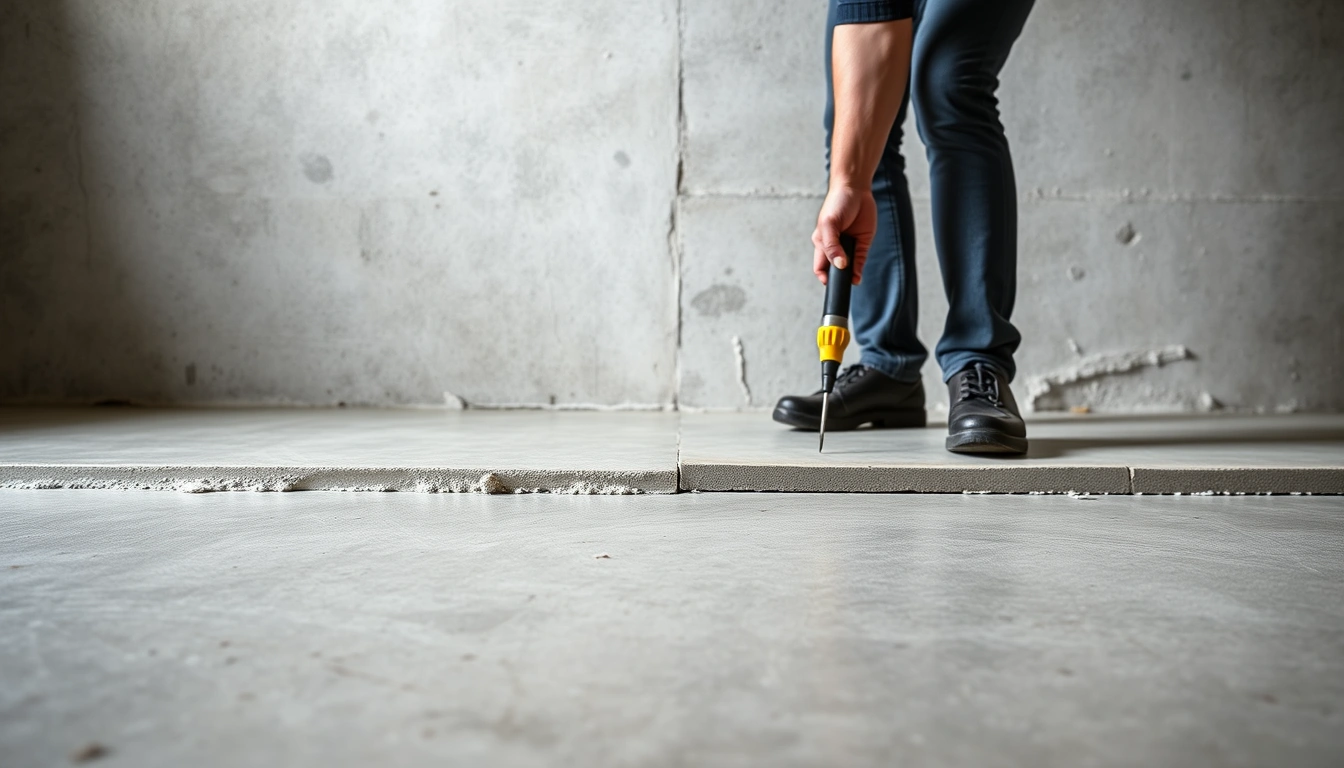
Those scenario differences translate directly into the numbers below. Here is how DIY and professional concrete leveling compare across the criteria that actually change the outcome of your decision.
| Criteria | DIY foam kit | Professional polyurethane foam | Winner for most homeowners |
|---|---|---|---|
| Cost | $150–$400 | $500–$1,500 | DIY (small slabs only) |
| Max slab size | Under 40 sq ft | No practical limit | Professional (anything over 40 sq ft) |
| Max vertical drop | ½ inch | Up to 3–4 inches | Professional (drops over ½ inch) |
| Cure / walkable time | 15–30 minutes | 15–30 minutes | Tie |
| Void identification | Visual / manual probe only | Ground-penetrating radar (some crews) | Professional |
| Failure risk (re-settling within 2 years) | Moderate to high on larger slabs | Low — most crews warranty 1–5 years | Professional |
| Suitable for vehicle traffic | No (residential kits are not load-rated for vehicles) | Yes | Professional |
| Interior floor use | Self-leveling compound works well | Overkill for minor surface dips | DIY (surface-only issues) |
| Skill required | Moderate — drilling, sequencing | Professional only | Depends on comfort level |
Can I level my own concrete or should I hire a pro?
The table above makes the decision framework clear, but there’s one more factor to weigh before you act: whether the settling has stopped. You can level your own concrete if your slab is under 40 square feet, has settled half an inch or less, and only if you’re addressing a genuine void beneath an outdoor slab rather than a surface dip.
If the slab has been in the same position for two or more seasons and the surrounding soil looks stable, a DIY foam kit is a reasonable attempt. If the slab has moved within the last 12 months, the soil beneath it is still active. In that case, you need a professional assessment before injecting anything — DIY or otherwise — because lifting a slab over an unstable void only delays the next drop.
Cost also shifts this calculation depending on your location. The concrete leveling cost by region data shows that the same professional job that runs $600 in the Midwest can cost $1,100–$1,400 in coastal metro areas. In high-cost markets, a DIY attempt on a borderline slab becomes more tempting — but the failure risk doesn’t change with your zip code.
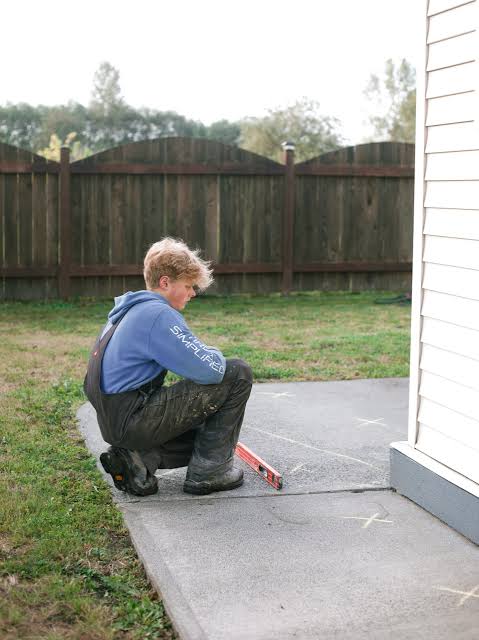
If you’re unsure whether your slab qualifies for DIY, measure the drop with a 4-foot level and measure the slab area. Those two numbers tell you more than any online forum will.
Do DIY concrete leveling kits actually work?
Given the right conditions — the same ones described above — yes, DIY foam kits work. A good two-part polyurethane kit can raise a settled slab panel cleanly, set in 15 minutes, and hold for several years. Outside those conditions, they fail more often than they succeed, and the failure typically makes the eventual professional repair more complicated.
What a successful DIY kit job looks like
The best DIY concrete leveling results involve single sidewalk panels — 16 to 24 square feet — with a clearly defined trip hazard of about ¼ to ½ inch. The homeowner drills 5/8-inch ports at the low corner, injects slowly in short bursts, and checks the level between injections. Total time: 45 minutes including cleanup. Total cost: $190. The slab holds through two winters. That’s the outcome a kit is designed to deliver.
What a failed DIY kit job looks like
The failures follow a predictable pattern. The slab is over 60 square feet, the homeowner injects the full kit in one go, overcorrects one corner, and introduces a new lateral stress crack. Re-repair by a professional costs $900 — more than the original job would have cost. The DIY failure risk on larger slabs isn’t theoretical. It’s the predictable outcome of applying small-scale tooling to a large-scale problem, which is exactly why the 40-square-foot threshold exists.
When is DIY leveling a bad idea?
Knowing what makes a kit succeed makes it easier to spot the situations where it will fail. DIY concrete leveling is a bad idea in four specific cases: slabs larger than 40 square feet, vertical drops exceeding half an inch, any slab bearing vehicle loads, and any slab adjacent to a foundation. In all four cases, the DIY failure risk shifts from possible to likely — and the consequences range from re-settlement to structural damage.
The slab near a foundation problem
Injecting expanding foam near a foundation wall creates lateral pressure. On older foundations, that pressure can widen existing hairline cracks. Polyurethane foam expands at 15–25 pounds per square inch. A professional knows to stay 18–24 inches from foundation walls and adjust injection volume accordingly. A homeowner with a kit doesn’t have that reference point, and the margin for error near a structure is narrow.
The active soil problem
If your slab is still moving, DIY leveling is also the wrong call. You’ll raise it today and it will settle again within months because the soil beneath it hasn’t stabilized. Professionals can sometimes inject foam in a pattern that stabilizes the soil as well as lifts the slab — a technique that requires knowing the void geometry first. That knowledge comes from experience and sometimes ground-penetrating radar, neither of which comes with a kit. You can learn more about this process in our overview of how polyurethane foam concrete leveling works.
If you’re at this crossroads and genuinely unsure, it costs nothing to get a professional assessment. Reading about what to expect from a concrete leveling free estimate can help you show up to that conversation knowing what questions to ask and what the crew should be checking.
- DIY concrete leveling foam kits work on slabs under 40 sq ft with a drop of ½ inch or less — beyond that, professional leveling is the safer and often cheaper long-term choice.
- Self-leveling compound is for interior surface prep only — it does not fix sunken or subsiding slabs.
- A failed DIY attempt on a large slab commonly costs more to correct professionally than the original job would have.
- Any slab near a foundation, bearing vehicle loads, or still actively settling requires professional assessment before any injection — DIY or otherwise.
Common questions about DIY concrete leveling vs professional
What can DIY concrete leveling actually fix?
DIY concrete leveling can fix small settled slabs under 40 square feet with a vertical drop of half an inch or less — typically a single sidewalk panel, a small patio step, or a minor garage floor seam. It cannot fix large driveways, slabs with drops over half an inch, or any slab where the underlying soil is still actively shifting.
See also: concrete leveling cost guide
See also: concrete leveling free estimate what to expect
See also: concrete leveling cost by region
Related: cost to fix uneven basement floor
Related: how to choose a concrete leveling contractor

Related Posts
Concrete Leveling Process Steps: Drill, Lift, Patch Explained
Polyurethane vs mudjacking for driveway