“`html
Concrete leveling for sandy soil: stop the cycle of sinking
⏱️ 7 min read · Last updated: 2026
- Typical void size under a sinking slab on sandy soil: 1–4 inches deep, often spanning the full panel width before visible cracking appears.
- Sandy soil erosion recurrence rate without drainage correction: commonly 60–80% of leveled slabs re-sink within 3–5 years, based on contractor field reports.
- Drainage correction (regrading, downspout extensions, French drain): typically adds $300–$1,500 to a leveling project depending on scope.
- Polyurethane foam injection is the recommended method for sandy soil — it does not introduce water into the substrate and cures in 15–30 minutes.
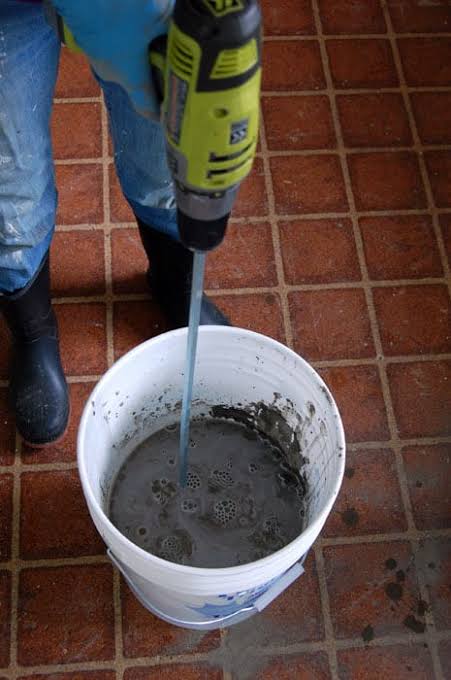
- Mudjacking slurry is roughly 50% water by volume; on sandy soil, that water accelerates the same erosion cycle that caused the original void.
Why concrete on sandy soil keeps sinking — and what actually causes it
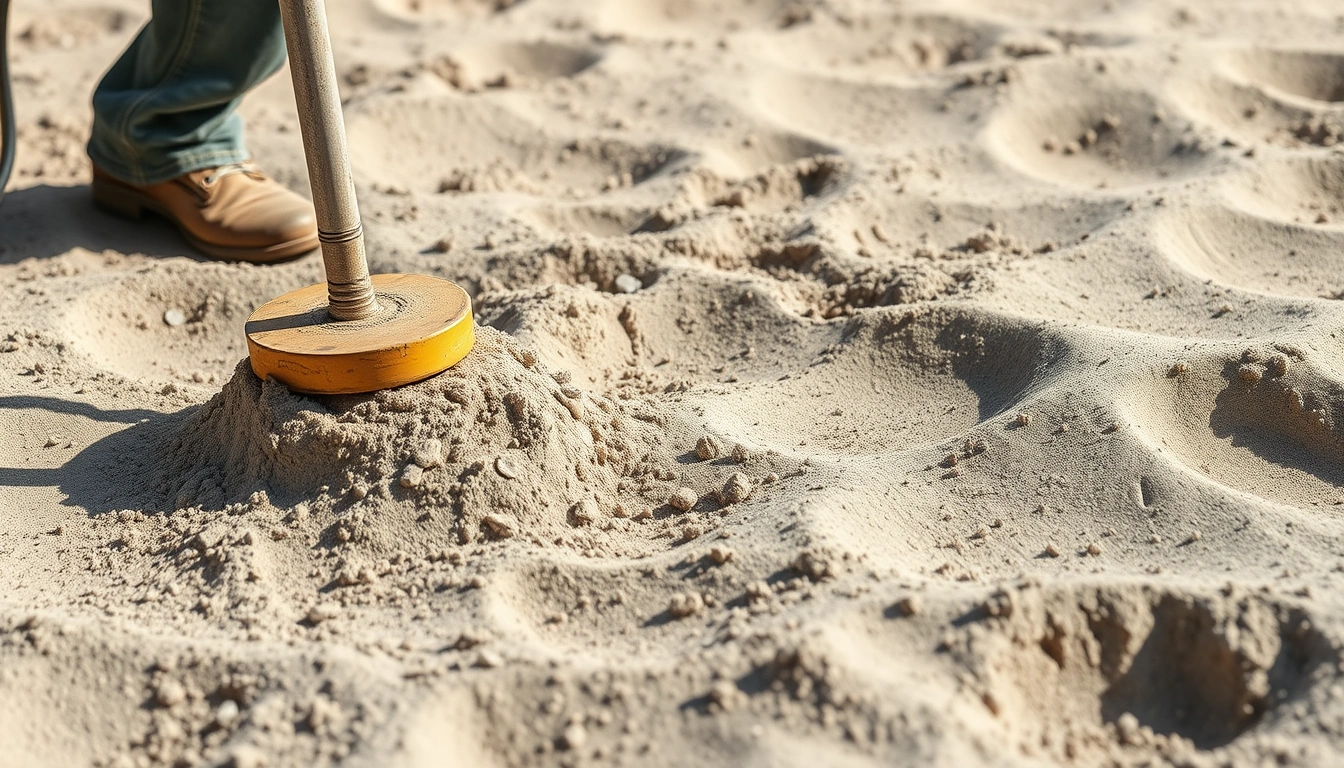
Sandy soil does not compact the way clay or loam does. Water passes through it fast — too fast. Instead of absorbing moisture and swelling slightly to support a slab, sandy soil lets water rush straight down and outward, carrying fine particles with it. That particle movement is the erosion, and the erosion is what creates the void beneath your concrete.
The slab above doesn’t crack right away. It spans the developing void like a bridge, sometimes for months. Then one edge loses enough support, the panel tips, and you get the familiar drop — one side of the sidewalk or driveway sitting an inch or two lower than the next panel. By the time it’s visible from the surface, the void underneath is almost always larger than it looks.
Here’s what most leveling articles miss: the void didn’t cause the problem — the water movement did. Fill the void without stopping the water and you’re patching a leak without turning off the faucet. Concrete leveling for sandy soil is a two-part job, and most contractors only quote you for one of them. Understanding that distinction is the most important thing you can take from this guide.
What the void under your slab actually looks like
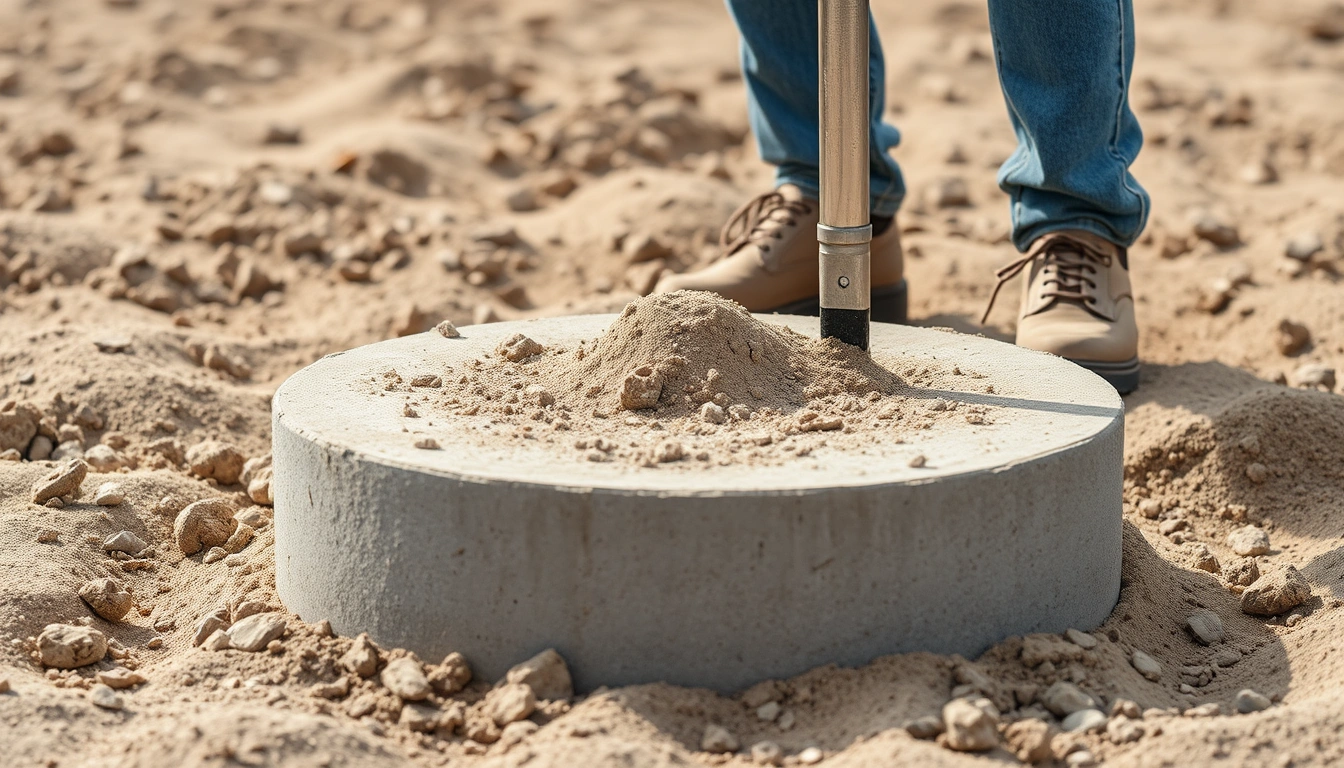
Once you understand that water movement drives the problem, the shape of the void starts to make sense. A void under a slab on sandy soil is rarely one clean cavity. It tends to be an irregular, tapered space — widest near the erosion source (often an edge or a downspout discharge point) and narrowing inward. Typical depth runs 1–4 inches across the affected panel area, though voids deeper than 6 inches are not unusual near chronic water intrusion points.
The clearest visual indicator is the slab edge. Look at the joint between a sunken panel and a stable one. If you see a gap larger than half an inch and the underside of the raised edge is exposed, there is almost certainly a void extending inward at least as wide as the panel itself.
Probe the area before you commit to a method. Push a rebar rod or long screwdriver into the soil at the slab edge at a 45-degree angle. If it slides in more than 3 inches without hitting resistance, you have significant void-filling work ahead — not just a surface lift. That probe result also tells your contractor how much foam volume the job will require, which directly affects the quote.
On sandy soil, voids commonly span the entire underside of a slab panel before any surface cracking appears — meaning the problem is always larger than it looks from above.
Observable signs of void formation on sandy soil
- Hollow sound when you tap the slab surface with a hammer (most reliable early indicator)
- Fine sand or soil washing out from slab edges after rain
- A visible gap between the slab bottom and exposed soil at the joint
- Slab rocking slightly underfoot at panel edges
- Hairline cracks running parallel to the long edge of the panel
Why does my concrete keep sinking on sandy soil near a downspout?
Knowing the signs of a void is useful, but it still leaves the bigger question unanswered: why does the void keep coming back? In most cases, the answer is a downspout. Downspout washout is the single most common cause of repeat slab sinking on sandy soil, and it is almost always misdiagnosed as a simple “settling” problem.
A standard residential downspout can discharge 12–20 gallons per minute during a heavy rain event. That water lands at one concentrated point, saturates the sandy soil instantly, and carries particles away from under the slab with every storm cycle. The reason the sinking keeps repeating is straightforward: the water volume is consistent, and sandy soil has no binding agent to resist it. Each rain event removes a little more material. Each leveling job fills the void temporarily — but the next storm starts eroding again from day one.
The fix has two mandatory parts. First, extend the downspout discharge point at least 6 feet away from the slab edge using a flexible extender or a buried drain line. Second, confirm that the soil grade slopes away from the slab at a minimum of 1 inch per foot for the first 6 feet. Both steps are drainage corrections that concrete contractors can quote alongside a leveling job — but you have to ask specifically, because most won’t raise it on their own.
Which leveling method works best on sandy or eroding soil?
With the drainage source identified, the next decision is which repair method to use. That choice matters more on sandy soil than on any other soil type, because the wrong method can make erosion worse.
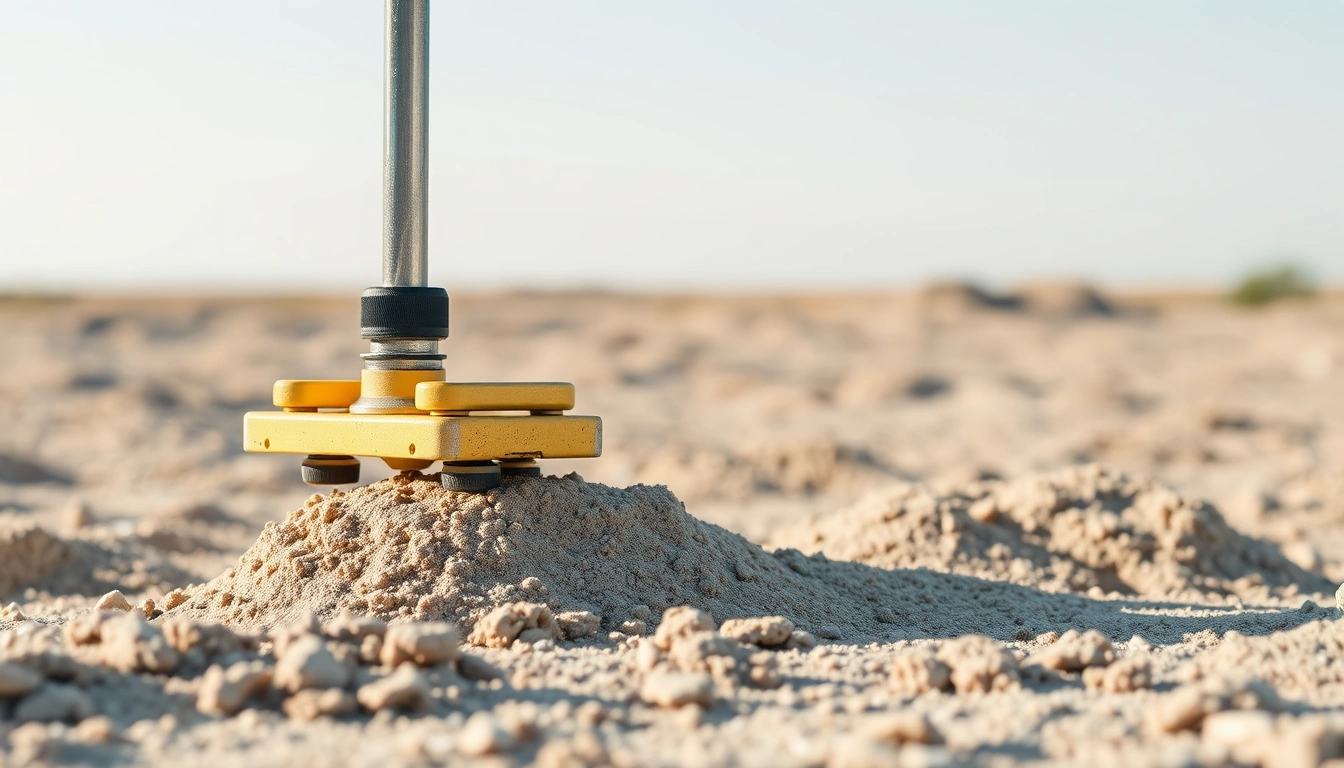
Polyurethane foam injection is the clear choice for concrete leveling on sandy or eroding soil. Unlike mudjacking, which uses a cement-soil-water slurry, polyurethane foam introduces no additional water into a substrate that is already vulnerable to water-driven erosion. The foam expands on contact, fills irregular voids effectively, and reaches structural strength in 15–30 minutes. Because it is also lighter than slurry, it puts less load on already-compromised soil around the slab edges.
Mudjacking has one practical advantage: lower upfront cost, typically $3–$7 per square foot versus $5–$12 per square foot for polyurethane. But on sandy soil specifically, the water content in mudjacking slurry is a real liability. You can review a full mudjacking vs polyurethane cost comparison to see where each method makes financial sense — the cost gap narrows significantly when you factor in re-treatment frequency on sandy soil.
Full slab replacement is rarely the right first move unless the concrete itself is structurally compromised — spalling, rebar corrosion, or multiple through-cracks. Replacement does nothing to address the soil erosion underneath, so a new slab on uncorrected sandy soil will develop the same void problem within a few years.
| Method | Cost per sq ft (2026) | Water introduced? | Cure time | Sandy soil suitability |
|---|---|---|---|---|
| Polyurethane foam injection | $5–$12 | No | 15–30 minutes | Best choice |
| Mudjacking (slurry injection) | $3–$7 | Yes — ~50% water | 24–48 hours | Not recommended |
| Full slab replacement | $8–$20+ | Yes (curing water) | 28 days full cure | Only if slab is structurally failed |
For a broader look at how these methods compare across different site conditions, the full concrete leveling methods compared breakdown covers soil type, load requirements, and long-term performance side by side. If you are also dealing with a garage floor with settlement issues, that guide covers the additional load and drainage variables specific to interior slabs.
Fix drainage before you level — the step everyone skips
Choosing the right repair method only gets you halfway there. Even a perfectly executed foam injection job will fail early on sandy soil if the water source is still active. Drainage correction is not optional — it is what separates a leveling job that holds for a decade from one that needs retreatment before the warranty expires.
The three most common drainage problems that cause slab sinking on sandy soil are concentrated downspout discharge, negative grade (soil sloping toward the slab), and irrigation lines running too close to the slab edge. Each has a specific fix, and each fix has a real cost. Here is what drainage correction typically adds to a leveling project in 2026:
| Drainage problem | Correction method | Typical added cost | DIY possible? |
|---|---|---|---|
| Downspout discharging near slab | Extend 6+ ft or bury drain line | $50–$300 | Yes |
| Negative grade toward slab | Regrade soil, add fill | $200–$800 | Partially |
| Subsurface water movement | French drain installation | $500–$1,500 | Not recommended |
| Irrigation overspray on slab edge | Redirect heads, reduce run time | $0–$150 | Yes |
The combined drainage correction cost range of $300–$1,500 sounds like a lot until you compare it to a repeat polyurethane foam job, which runs $500–$1,200 on its own — and that is a bill you will pay every few years if the water source is not eliminated first.
How to fix a sinking slab on sandy soil: step by step
With the drainage source understood and the right method selected, execution comes down to sequence. Concrete leveling for sandy soil follows a specific order of steps, and skipping any one of them — especially the drainage assessment — is the primary reason repeat sinking happens. Here is the full process, written for both DIY assessment and contractor coordination.
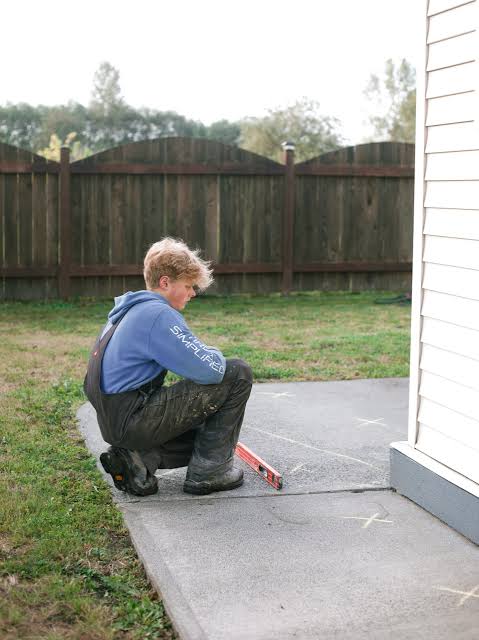
- Identify the erosion source. Walk the perimeter of the affected slab. Note every downspout, irrigation head, and grade direction within 10 feet. Mark the likely water entry points with chalk, spray paint, or flags so your contractor can see them. Do not schedule a leveling job until you can name the water source.
- Probe the void depth and extent. Use a 3/8-inch rebar rod at the slab edges and joints. Insert it at a 45-degree angle under the slab and note how far it slides before hitting resistance. Anything over 3 inches with no resistance points to a significant void that needs professional injection, not surface patching. Document the probe locations — your contractor will use them to plan port placement.
- Address drainage before leveling — not after. Extend any downspouts discharging within 6 feet of the slab. Regrade any soil that slopes toward the slab. If subsurface water flow is suspected, get a French drain quote before booking the leveling crew. Completing this step first is what separates a repair that lasts from one that fails on schedule.
- Select polyurethane foam injection for sandy soil. Confirm with the contractor that they are using a two-part expanding polyurethane system, not a cement-based slurry. Ask directly: “Does your process introduce water into the substrate?” A mudjacking crew will say yes. A foam crew will say no. On sandy soil, that answer determines whether the repair has a chance of lasting.
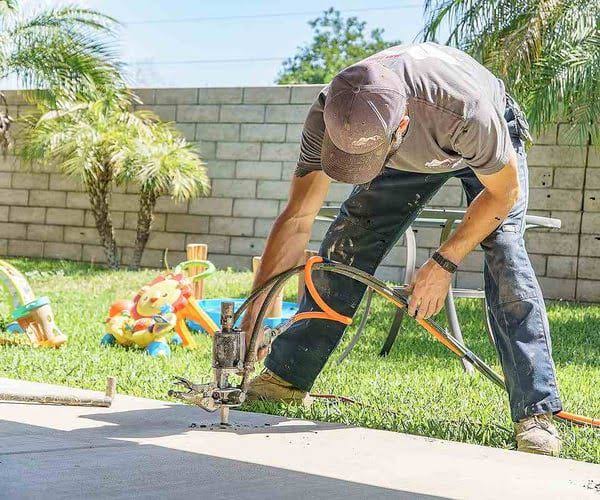
- Verify injection port placement before work begins. Ports should be drilled at 2–4 foot intervals across the slab, placed 6–8 inches from slab edges and joints. More ports placed closer together means better foam distribution under the full panel. Ports clustered only in the center are a sign that edge voids — the most common location on sandy soil — may be undertreated.
- Confirm lift rate during injection. Foam should raise the slab slowly, in increments of about 1/8 inch, with pauses between pumps so the crew can evaluate level. Rapid, continuous lifting risks cracking the slab. A crew that stops frequently to check and measure is doing the job correctly — that patience is what you are paying for.
- Inspect within 48 hours of completion. Walk every joint and edge. Look for any new gaps or edge lifting that wasn’t there before. Tap-test the slab again with a hammer — a well-executed foam injection job should eliminate the hollow sound across the entire lifted area. If hollow spots remain, follow up with the contractor before the warranty clock starts.
- Recheck drainage after the first significant rain. Watch the downspout extensions, the grade, and the slab edges. Any new sand or soil washing out from under the slab edges after a rain event means the erosion source is not fully resolved. Additional drainage correction is needed before the void has a chance to re-form.
Concrete leveling on sandy soil done without drainage correction has a commonly reported re-sink rate of 60–80% within 3–5 years — making drainage the highest-return investment in any sandy soil leveling project.
For garage floor applications, this same sequence applies but with additional considerations. Vehicle load and interior drainage requirements change both the void assessment process and the foam density specifications a contractor should use. Those details are covered fully in the concrete leveling for garage floor settlement guide.
What this actually costs in 2026
Following the steps above gives you the best chance of a repair that holds. But it also means the project costs more than a simple leveling quote — because drainage correction adds scope that most homeowners do not anticipate when they call for a price. Here is a realistic cost picture for a common scenario: a 100-square-foot driveway panel or sidewalk section that has sunk 1–2 inches due to sandy soil erosion.
- Polyurethane foam injection (100 sq ft panel): $500–$1,200 depending on void depth and regional labor rates
- Downspout extension (DIY): $20–$80 in materials
- Downspout extension (contractor-installed buried drain): $150–$400
- Soil regrading around slab: $200–$600
- French drain (subsurface erosion): $500–$1,500
- Total realistic project range (leveling + drainage): $700–$2,700
Compare that to full concrete replacement at $8–$20 per square foot, which runs $800–$2,000 for a 100-square-foot panel — without fixing the drainage problem at all. Foam injection with drainage correction is almost always the more cost-effective path when the slab itself is structurally intact.
Before you sign anything, warranty terms are worth reviewing carefully. On sandy soil, where re-leveling risk is higher than average, the difference between a 2-year and a 5-year warranty — and what each one actually excludes — can be significant. Reviewing a concrete leveling warranty comparison before committing is worth the time. Pay specific attention to whether “soil movement” is listed as an exclusion, because on sandy soil, that clause can make a warranty nearly worthless.
- Polyurethane foam injection is the correct method for concrete leveling on sandy soil — it introduces no water and cures in under 30
See also: concrete leveling methods compared
See also: concrete leveling warranty comparison
See also: concrete leveling for garage floor settlement
Related: pool deck leveling
Related: polyurethane concrete lifting lifespan
Related: concrete leveling for expansive clay soil


Related Posts
Concrete Leveling Process Steps: Drill, Lift, Patch Explained
Polyurethane vs mudjacking for driveway