“`html
Driveway leveling cost estimate: real prices by driveway size (2026)
⏱️ 7 min read · Last updated: 2026
- Cost per square foot: Mudjacking runs $3–$8/sq ft; polyurethane foam injection runs $5–$25/sq ft depending on void depth and access.
- One-car driveway total: $800–$2,400 for full-slab leveling (roughly 200–400 sq ft); settled-section-only work costs $300–$850.
- Three-car driveway total: $2,200–$6,500 for full-slab leveling (600–1,200 sq ft); expect the higher end when voids exceed 3 inches deep.
- Apron section cost: A sunken driveway apron (the slab at the street connection) typically costs $200–$600 to level — it is often the first section to settle and can be treated independently.
- Polyurethane foam injection cures in 15–30 minutes vs. 24–48 hours for mudjacking, making it practical for driveways that need same-day use.
If you’ve already received a driveway leveling cost estimate and wondered why two contractors quoted wildly different prices for the same sunken slab, you’re asking exactly the right question. The short answer: driveway leveling costs $3–$25 per square foot depending on the method used, the depth of the void beneath the slab, how many panels have actually settled, and whether the driveway apron needs independent treatment. A one-car driveway typically runs $800–$2,400 for full leveling; a three-car driveway runs $2,200–$6,500. Knowing which number applies to your specific situation — before anyone shows up with a quote sheet — is what this guide is built to help you figure out.
A mudjacking crew quoted my neighbor $1,900 to lift his settled driveway. A foam contractor completed the same job for $850 in under three hours. The difference wasn’t just price — it was the right method matched to the actual problem. That kind of gap is common, and it’s almost always the result of homeowners not knowing which questions to ask before the first contractor walks the driveway.
The frustrating thing about most online cost guides is that they hand you a single blended figure — something like “$1,200 on average” — and call it a day. That number is meaningless for a homeowner with a three-car driveway, just as it is useless for someone who only needs to raise a sunken apron by an inch. Size matters. Settled-section work versus full-slab driveway leveling matters. Method matters. The sections below break each of those variables apart so you can evaluate any quote you receive against what the work actually involves.
How much does it cost to level a one-car versus three-car driveway?
Starting with the headline numbers: a one-car driveway costs $800–$2,400 to level in full; a three-car driveway runs $2,200–$6,500. The gap between those ranges comes down to method and void depth, not just surface area. These figures reflect the cost per square foot applied to real-world driveway sizes across both mudjacking and polyurethane foam injection — not blended national averages that obscure the variables driving your specific quote.
The table below breaks this down by driveway size, typical square footage, and both method pricing tiers. Use it as a reference range before you call anyone, and note the “best method if” column — it’s the fastest way to sanity-check what a contractor recommends for your situation.
| Driveway size | Typical sq ft | Mudjacking cost | Foam injection cost | Best method if… |
|---|---|---|---|---|
| One-car (1 lane) | 200–400 sq ft | $800–$1,600 | $1,000–$2,400 | Foam: need same-day use; Mud: cost is the priority |
| Two-car (side by side) | 400–700 sq ft | $1,400–$2,800 | $2,000–$4,500 | Foam: clay soil or deep voids; Mud: stable, sandy sub-base |
| Three-car (wide or long) | 600–1,200 sq ft | $2,200–$4,800 | $3,000–$6,500 | Mud: large uniform settlement; Foam: multiple isolated slab drops |
One detail most driveway leveling cost guides skip entirely: these totals assume the concrete itself is structurally sound. If slabs are cracked through and crumbling at the edges, leveling is not the right repair — replacement is. A contractor who quotes leveling without assessing slab integrity is skipping a step that will cost you twice. For guidance on when replacement makes more sense than leveling, the concrete slab repair vs. replacement guide walks through the decision criteria in detail.
What’s a fair price to raise a sunken driveway apron?
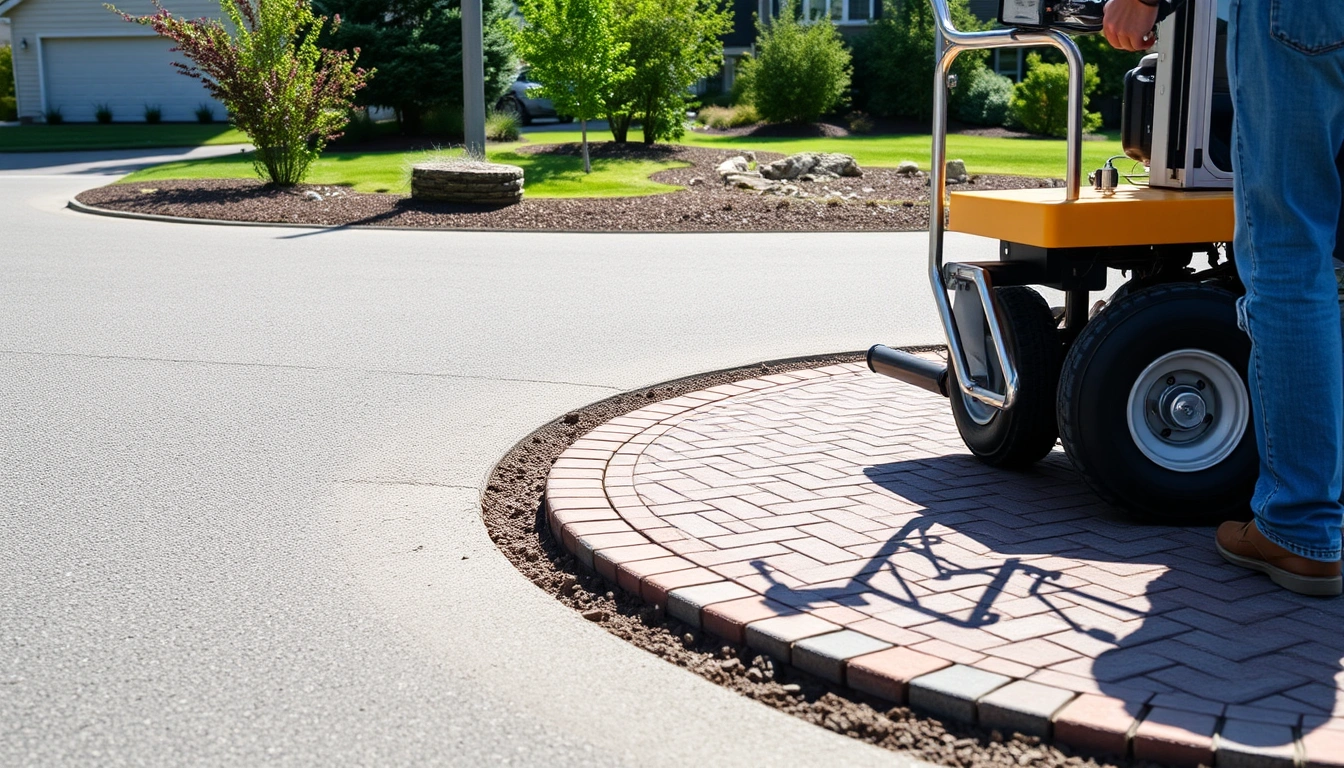
Once you understand the full-driveway cost ranges above, the apron is worth treating as its own line item — because it almost always settles first, and it can often be fixed independently for far less than the rest of the driveway. Driveway apron leveling — raising the transition slab between your driveway and the street — typically costs $200–$600 as a standalone job. That range holds whether the contractor uses mudjacking or polyurethane foam injection, because apron sections are small (usually 8–16 sq ft) and require less material than interior slab work.
The apron settles first for a straightforward reason: water drains from the street toward the slab edge, soil erodes underneath, and the apron drops — sometimes while the rest of the driveway stays level. This means you may only need apron work, which keeps your total driveway leveling cost well below the full-driveway numbers in the table above.
A sunken driveway apron that drops more than 1.5 inches creates a trip hazard that many municipalities flag during property inspections — and it accelerates edge cracking on the adjoining street slab.
What pushes the apron cost toward $600 is when the void underneath is deep (more than 3 inches), when the apron has shifted laterally as well as vertically, or when the street municipality requires a licensed contractor and permit for any work touching the curb. Call your city’s public works line before scheduling — some jurisdictions want their own inspector on site, which adds scheduling time but rarely adds direct cost to you. For more on how permit requirements vary by project type, the concrete leveling permits and requirements page covers the most common municipal rules by region.
Mudjacking vs. polyurethane foam injection: where the cost difference actually comes from
With apron and full-driveway pricing established, the next question is always why two contractors can quote dramatically different rates for the same square footage. The answer almost always comes down to method. Polyurethane foam injection costs more per square foot than mudjacking — typically $5–$25/sq ft versus $3–$8/sq ft — but the price difference reflects a real difference in what happens under your slab, not just a markup.
Mudjacking pumps a slurry of cement, soil, and water through 1.5–2 inch holes drilled into your slab. It lifts the concrete by filling the void with dense material. Polyurethane foam injection uses smaller holes (roughly 5/8 inch) and injects expanding two-part foam that cures rigid in 15–30 minutes, weighs about 2 lbs per cubic foot, and does not add water weight to already compromised soil.
That weight difference matters most on driveways with clay soil underneath. Clay expands when wet and contracts when dry — mudjacking adds water and weight to that already-unstable base. Foam does not. In clay-heavy regions (much of the Southeast and Midwest), foam’s higher upfront cost frequently means not repeating the job in three years. Understanding this trade-off is the key to knowing which quote is actually the better deal for your specific project.
| Factor | Mudjacking | Polyurethane foam injection |
|---|---|---|
| Cost per sq ft | $3–$8 | $5–$25 |
| Cure / wait time | 24–48 hours before driving | 15–30 minutes |
| Hole size drilled | 1.5–2 inches diameter | ~5/8 inch diameter |
| Material weight added | Heavy (adds load to sub-base) | ~2 lbs/cu ft (minimal load) |
| Best soil type | Sandy, stable sub-base | Clay, wet, or unstable soil |
| Longevity (typical) | 5–10 years on stable sub-base | 10+ years; foam does not erode |
| Visible patch marks | More visible (larger holes) | Nearly invisible after patching |
For a deeper look at when each method makes sense on different project types, the concrete leveling methods compared breakdown covers edge cases that a simple cost table can’t capture — including when neither method is appropriate and replacement is the smarter spend.

Settled section vs. full slab: the number that changes everything
Now that you understand how method affects price per square foot, the next variable that determines your actual driveway leveling cost estimate is scope — specifically, whether you’re treating a few settled panels or the entire slab. Contractors don’t always volunteer this distinction, and it can mean the difference between a $400 job and a $1,600 one on the same driveway.
Settled-section work on one or two dropped panels runs $300–$850. Full-slab treatment on the same driveway might cost three times that. Here’s how to tell the difference before anyone shows up with a quote sheet. Walk the driveway slowly and look for these observable markers:
- Check the joints. Crouch down and look across the surface at a low angle. Panels that have dropped more than half an inch relative to their neighbors show a visible lip at the joint. Mark settled panels with chalk before any contractor visit.
- Pour water. A cup of water poured at each panel joint will pool toward the settled side. More than an inch of pooling depth means that joint has moved significantly.
- Count the settled panels. If three or fewer panels have dropped, you’re almost certainly in settled-section territory — do not let a contractor quote you full-slab pricing without explaining why additional panels need treatment.
- Look under the edge. Shine a flashlight under the raised edge of any dropped panel. A gap you can see at the panel edge confirms the slab is floating above a void, not broken through — leveling will work. A slab that’s crumbling at the edge needs replacement, not leveling.
- Check the center, not just the edges. Settlement in the middle of a panel (the slab bows down at the center) is different from edge drop. Center sag often means the slab itself has cracked and shifted — leveling is less reliable in this scenario.
- Document with photos. Take photos from the same angle at each panel edge. Send these to two or three contractors before they visit — it sets an honest baseline and prevents quotes that include areas that haven’t actually settled.
The five factors that move your quote up or down
Even when you’ve identified the right method and scoped the settled sections accurately, quotes for the same job can still vary by 40–60%. That variance comes from five job-specific factors that contractors weigh differently — and that you can evaluate before accepting any quote.
- Void depth. Voids shallower than 2 inches require less material and less time. Voids of 4+ inches — common under driveways near large trees or in high-clay regions — significantly increase material costs for foam and require slower, staged injection to avoid over-lifting.
- Number of drill points. Most contractors charge per hole drilled in addition to the square-footage rate, or they factor drill density into their pricing. A single settled panel might need 4–6 drill points; a full three-car driveway might need 30–50. Ask for this number on any itemized quote.
- Access and slope. A steeply sloped driveway or one blocked by landscaping, gates, or tight turns increases setup time. Foam rigs are smaller and more maneuverable than mudjacking trucks, which matters in tight residential driveways.
- Regional labor rates. Driveway leveling cost per square foot in the Northeast and West Coast commonly runs 20–35% higher than Midwest or Southeast rates for equivalent work. This is purely labor cost, not a material difference.
- Permits and municipal rules. Apron work touching the city right-of-way sometimes requires a permit ($50–$200) and an inspection visit. Interior driveway panels rarely require permits. Confirm this before scheduling — a contractor who skips a required permit leaves you liable for the violation.
Together, these five factors explain why the same 400 sq ft driveway can produce quotes ranging from $1,200 to $2,800 from contractors using identical methods. For a full breakdown of how these factors play out across different project types and regions, the concrete leveling cost guide covers everything from garage floors to pool decks with the same level of specificity.
How to get an estimate that’s actually accurate
Understanding the five cost factors above gives you the vocabulary to control the quoting process — and the homeowners who get the most useful, comparable estimates are the ones who control what information they share and when. Here’s the process that consistently produces honest quotes across all driveway leveling project sizes.
- Measure your driveway first. Pace it off and estimate square footage before any contractor arrives. You don’t need exact precision — knowing your approximate square footage lets you flag quotes that seem to be treating a significantly larger area than actually exists.
- Identify and photograph the settled sections. Mark every panel edge that has dropped more than half an inch. Take photos from two feet away at each joint. This is your baseline documentation and the single most useful thing you can send a contractor before their visit.
- Ask about method before discussing price. Say: “Do you primarily use mudjacking or foam injection, and which would you recommend for my sub-base type?” Their answer tells you whether they’re solution-focused or just selling their equipment.
- Request an itemized quote, not a lump sum. The line items to ask for: sq ft treated, holes drilled, material type, cure time, and what’s excluded. A contractor who resists itemizing is worth a red flag in any project of this size.
- Ask specifically about the apron. Many quotes exclude the apron because it touches city property. Clarify upfront whether driveway apron leveling is included, and if not, get a separate line-item price for that section.
- Compare the same scope across contractors. One quote might include the apron; another might not. Normalize what each quote covers before comparing the totals — the cheapest number often covers the least work.
- Ask about warranty coverage. Reputable foam contractors typically warrant their work for 2–5 years against re-settlement. Mudjacking warranties are less common but do exist. A contractor who offers no warranty on a leveling job is worth noting when you compare bids. For more on what a solid warranty should include, the concrete leveling warranty guide outlines industry-standard terms by method.
The most reliable signal that a contractor knows what they’re doing: they tell you which panels don’t need leveling yet, not just which ones do. Anyone quoting the whole driveway without identifying areas still in good condition is selling surface area, not solving a problem.
One more thing that rarely appears in driveway leveling cost guides: timing affects price. Concrete leveling contractors are busiest in spring and early fall. Scheduling a job in July or January — when demand drops — commonly produces quotes 10–15% lower for the same scope of work. That’s not a negotiating tactic; it’s simply how contractor capacity works
See also: concrete leveling cost guide
See also: mudjacking vs polyurethane cost comparison
See also: concrete leveling methods compared
Related: concrete leveling free estimate what to expect
Related: patio leveling cost
Related: concrete leveling quote red flags