“`html
Concrete leveling vs replacement: the exact thresholds that settle the decision
⏱️ 8 min read · Last updated: 2026
- Crack width threshold: Cracks wider than ½ inch typically indicate structural failure beneath the slab — leveling will not hold and slab replacement becomes necessary.
- Minimum slab thickness for lifting: Slabs thinner than 3.5 inches commonly crack or break during polyurethane foam injection or mudjacking — replacement is safer.
- Leveling cost vs. replacement: Concrete leveling typically runs 25%–50% of the cost of full slab replacement, depending on method and access.
- Driveway replacement cost: Full slab replacement commonly ranges from $6 to $12 per square foot in 2026, compared to $3 to $7 per square foot for foam leveling.
- Spalling damage threshold: Spalling covering more than 30% of a slab’s surface area signals material degradation — no leveling method addresses surface deterioration.
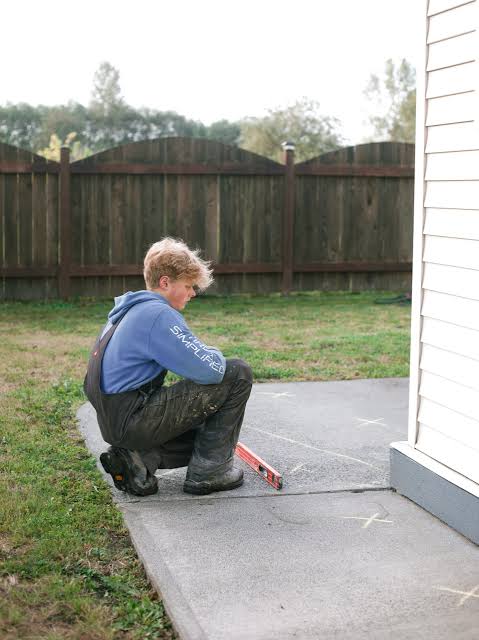
The crack ran from the garage door to the mailbox — nearly half an inch wide by late spring, with one panel sitting a full two inches higher than its neighbor. The concrete leveling vs replacement decision felt impossible until a contractor pulled out a tape measure and made it simple in about four minutes.
That moment revealed something important: most homeowners spend weeks getting conflicting quotes because no one hands them a clear decision framework. Contractors who specialize in concrete leveling tend to say the slab can be saved. Contractors who pour new concrete tend to say it needs to go. Both assessments reflect their area of expertise, which is exactly why relying on quotes alone rarely resolves the question.
What actually settles the concrete leveling vs replacement decision is a short list of measurable conditions. The thresholds below come from time on job sites, conversations with structural contractors, and tracked repair outcomes over multi-year periods. They consistently separate a good leveling candidate from a slab that is past saving.
Crack severity: the measurement that decides everything
Crack width is the single most reliable indicator in the concrete leveling vs replacement decision — more reliable than age, more reliable than appearance, and more reliable than what your neighbor paid for theirs. A crack under ¼ inch wide in a slab that has settled uniformly is almost always a good leveling candidate. A crack over ½ inch wide, especially one with vertical displacement (one side higher than the other), signals that the subbase has failed rather than just settled.
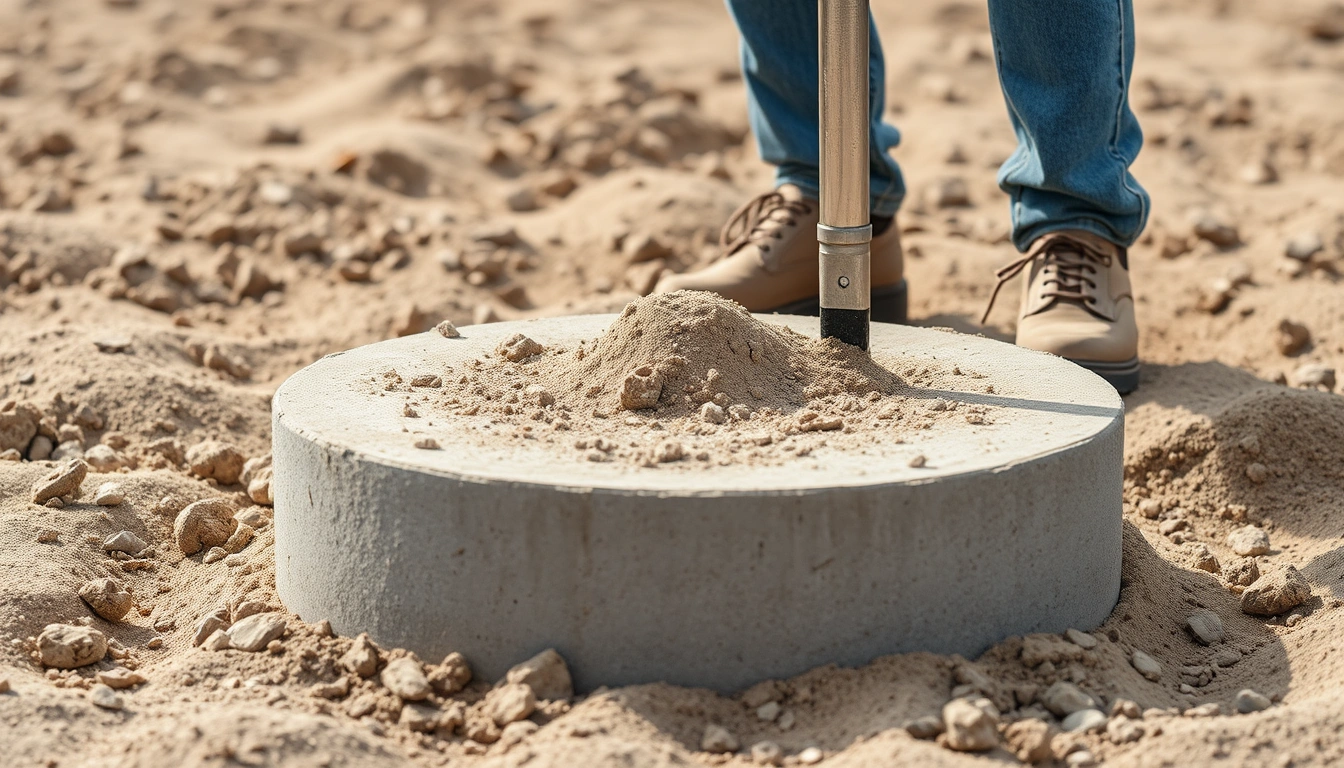
That distinction matters because leveling methods — whether mudjacking or polyurethane foam injection — work by filling voids and lifting the slab. They do not repair the concrete itself. A wide crack with significant displacement means the slab has already fractured under stress, and lifting it may worsen the fracture or produce uneven lift across the break. Understanding how concrete leveling works makes it easier to see why crack width sets the hard limit on what leveling can fix.
Cracks between ¼ inch and ½ inch fall into a judgment zone — crack pattern, direction, and subbase condition all factor in. Straight cracks running parallel to the slab edge are less worrying than diagonal cracks radiating from corners, which suggest load-related structural failure.
Crack direction also tells a different story than crack width alone. Diagonal corner cracks in a driveway panel almost always mean load stress from vehicle traffic on a weakened subbase — the kind of problem that returns within 12–18 months after concrete leveling if the root cause is not addressed. Hairline cracks running parallel to joints are usually shrinkage cracks from the original pour and are largely cosmetic. Knowing the difference saves you from paying for a repair that will not last.
| Crack width | Likely cause | Leveling viable? | Recommended action |
|---|---|---|---|
| Under ⅛ inch | Shrinkage, minor settlement | Yes | Level and seal crack |
| ⅛ – ¼ inch | Moderate settlement | Usually yes | Level; monitor crack after lift |
| ¼ – ½ inch | Subbase erosion or load stress | Maybe | Assess subbase; get structural opinion |
| Over ½ inch | Structural failure | Rarely | Slab replacement strongly recommended |
Why spalling damage changes the calculation entirely
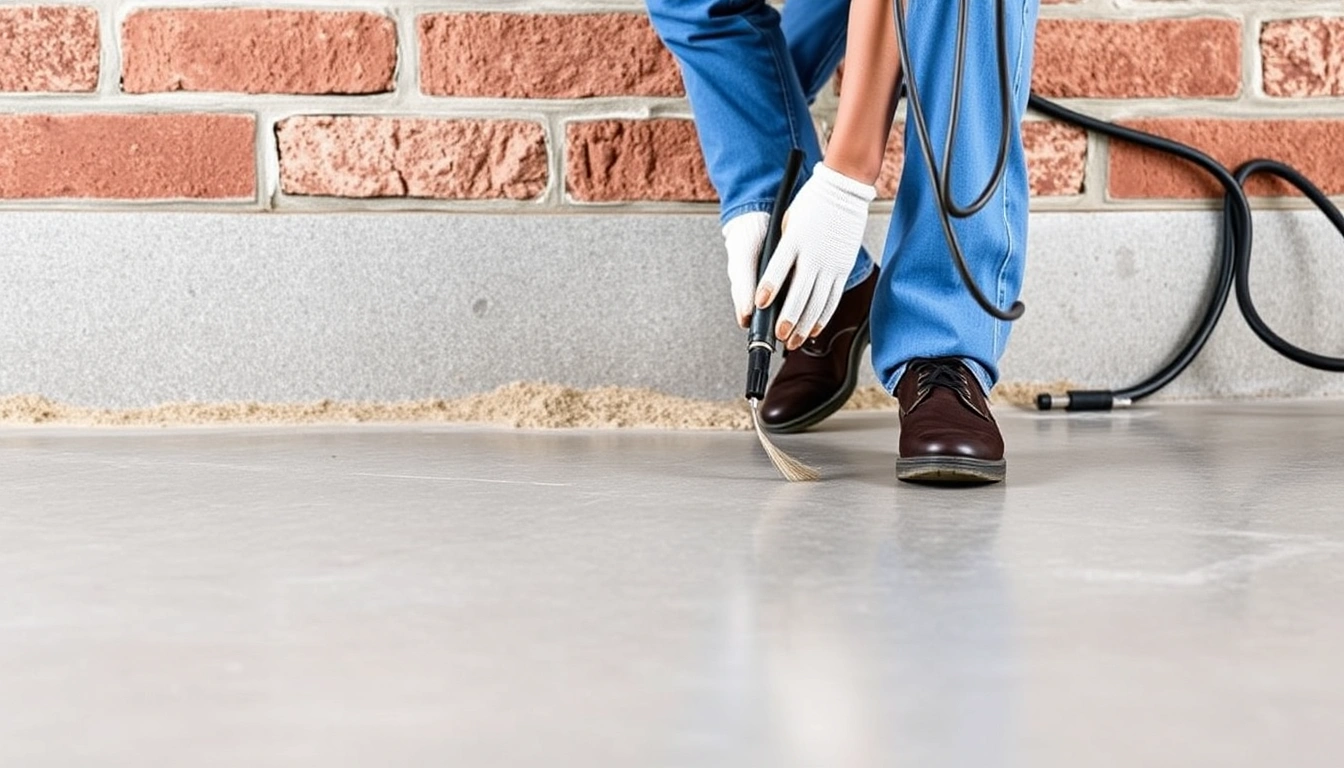
Once you have a clear picture of crack severity, the next factor to evaluate is surface condition — and spalling changes the concrete leveling vs replacement calculation in a way that catches many homeowners off guard. Spalling — the flaking, pitting, and surface delamination that makes concrete look like it is shedding its skin — is one condition that no leveling method can fix. Mudjacking lifts slabs. Polyurethane foam fills voids and lifts slabs. Neither one bonds the surface back together or halts the freeze-thaw deterioration that causes spalling in the first place.
A slab can be perfectly level and still become unusable in three to five years if spalling has compromised the surface layer. So the concrete leveling vs replacement decision, when spalling is present, must ask a second question: even if we lift this slab successfully, how long before the surface becomes a hazard?
The working threshold used by most experienced contractors is surface area. Spalling affecting under 15% of a slab’s surface is typically manageable — the slab can be leveled, and the affected areas resurfaced with a bonding overlay. Between 15% and 30%, the economics get close. Above 30% surface spalling, replacement is usually the more cost-effective path, because adding resurfacing cost to leveling cost erodes the savings from avoiding full replacement.
One underreported detail: spalling on a slab that has also settled unevenly often signals rebar corrosion below the surface. When water infiltrates cracks, reaches the rebar, and causes rust expansion, the result is both surface spalling and slab movement. In that case, concrete leveling is not just ineffective — it is a short-term patch on an accelerating problem, and replacement with proper drainage correction is the right call.
Slab thickness and why it matters more than age
After evaluating cracks and surface condition, the third measurement that shapes the concrete leveling vs replacement decision is slab thickness. Slabs thinner than 3.5 inches frequently crack or break during the lifting process itself. Most residential driveways are poured at 4 inches — the standard since the mid-20th century — but older slabs, walkways, and some patio pours come in at 3 inches or less. Attempting to inject foam or pump mudjacking slurry under a thin slab creates upward pressure that the concrete cannot always resist.
Age alone is a poor predictor of whether concrete leveling will succeed. A well-poured 40-year-old slab at 4 inches with sound aggregate can be lifted cleanly. A 10-year-old slab poured thin with poor mix ratios is a lifting risk. The more useful questions are: what is the actual thickness, and is there visible aggregate degradation?
You can estimate slab thickness without drilling by checking an exposed edge at an expansion joint or where a panel has already broken — the edge profile gives you a direct measurement in seconds.
Soil type also interacts with the concrete leveling vs replacement decision in ways that thickness alone does not capture. Sandy soils drain quickly but offer less stable support, and foam leveling tends to perform differently in sandy subgrades than in clay-heavy soils. The same logic applies with expansive clay, where soil movement follows moisture cycles rather than simple settlement. Resources on concrete leveling for sandy soil and concrete leveling for expansive clay soil go deeper on how soil type should shape your choice of method.
Should I level or replace my badly cracked concrete driveway?
With crack width, spalling coverage, and slab thickness assessed, you now have everything you need to answer the most common version of this question. For a badly cracked driveway, the answer depends on three conditions measured in sequence: crack width, vertical displacement, and the number of panels affected. If the widest crack is under ½ inch, vertical displacement is under 1.5 inches, and fewer than half the panels have moved, concrete leveling is worth quoting. If any one of those three conditions fails the threshold, slab replacement will likely cost less over a five-year horizon.
“Badly cracked” covers enormous variation. A driveway with several hairline cracks and one panel that has sunk two inches is a strong leveling candidate — the cracks are cosmetic, and the settlement is mechanical and fixable. A driveway where multiple panels have cracked through, shifted in different directions, and show surface deterioration is describing structural failure across the system, not a single settling event that concrete leveling can correct.
The directional movement test is one that rarely appears in standard advice: press on the raised edge of a settled panel. If it rocks — moving down when you push and bouncing back when you release — the void beneath it is clean and the slab is intact. That is a textbook leveling job. If the panel does not move, or if pressing on it causes nearby panels to shift, the subbase has failed in a more complex way that lifting alone will not fix.
At what point is concrete too damaged to level?
Knowing when concrete leveling is viable is equally important as knowing when it is not. Concrete is too damaged to level when the problem is in the material itself rather than in its position. Leveling corrects position — it moves a slab back to where it belongs. It cannot restore compressive strength, re-bond fractured aggregate, stop active rebar corrosion, or reverse freeze-thaw surface deterioration. When any of those conditions exist, slab replacement is the correct call.
Practically, the unsalvageable threshold is reached when two or more of the following are true at the same time:
- Cracks exceed ½ inch in width anywhere on the slab
- The slab has broken into three or more distinct pieces within a single panel
- Vertical displacement exceeds 2 inches between adjacent panels
- Spalling covers more than 30% of the surface area
- The slab rocks or flexes visibly when walked on (indicating no subbase support)
- Water pools directly at the slab’s high point after rain, suggesting the entire grade has shifted
One condition that is frequently misread as unsalvageable: a slab with many surface cracks but no vertical displacement. Cracks without settlement are almost never a structural failure — they are typically shrinkage cracks from the original cure or thermal cycling. A slab covered in hairline cracks that sits perfectly flat does not need concrete leveling at all; it may only need crack sealing and a surface sealer. Reviewing concrete leveling vs mudjacking can also clarify which repair approach fits different damage types.
The distinction between repairable and unsalvageable concrete comes down to this: is the problem in where the slab is, or in what the slab is made of? Position is fixable with concrete leveling. Material degradation is not.
The real cost comparison in 2026
Once you have confirmed that your slab qualifies for concrete leveling, cost becomes the final factor in the decision. Concrete leveling costs roughly 25%–50% of full slab replacement in 2026 — but that range is wide enough to be misleading without specifics. Mudjacking typically runs $3 to $6 per square foot. Polyurethane foam injection runs $5 to $25 per square foot depending on void depth, access, and regional market. Full slab replacement for a standard residential driveway commonly falls between $6 and $12 per square foot, including demolition and disposal of the old concrete.
The comparison also shifts when you factor in downtime. A leveled driveway is typically walkable within hours and drivable within 24 hours for foam, or 24–72 hours for mudjacking. A replaced driveway requires a cure period of 7–10 days before vehicle traffic and often 28 days to reach full design strength — a meaningful disruption for most households.
| Method | Typical cost/sq ft | Cure/wait time | Best for | Not suitable when |
|---|---|---|---|---|
| Mudjacking | $3–$6 | 24–72 hours | Large areas, budget-conscious repairs | Slab under 3.5 inches thick |
| Polyurethane foam | $5–$25 | 1–4 hours | Precision lift, tight access, speed | Heavily fractured slabs |
| Full slab replacement | $6–$12 | 7–28 days | Structural failure, severe spalling | Budget repair of sound concrete |
One factor that tips long-term cost toward concrete leveling: subbase condition. If the subbase is sound and the void beneath the slab formed from water migration, a foam lift can last 10 years or more with minimal maintenance. If the subbase itself is compromised — eroded sandy fill, failed compaction, or a broken drain line washing material away — neither leveling method provides a permanent fix, and the money is better spent on replacement with proper subbase preparation. For a full breakdown of method trade-offs, the guide to concrete leveling methods compared covers mudjacking, foam, and replacement side by side.
How to assess your own slab in six steps
Armed with the thresholds above, you can complete a preliminary self-assessment in under 20 minutes using tools you already own — a tape measure, a stiff wire or nail, a garden hose, and a straight piece of lumber or a long level. This will not replace a contractor’s opinion on borderline cases, but it will tell you which category your slab falls into before you make any calls — and it gives you specific numbers to reference when comparing quotes.
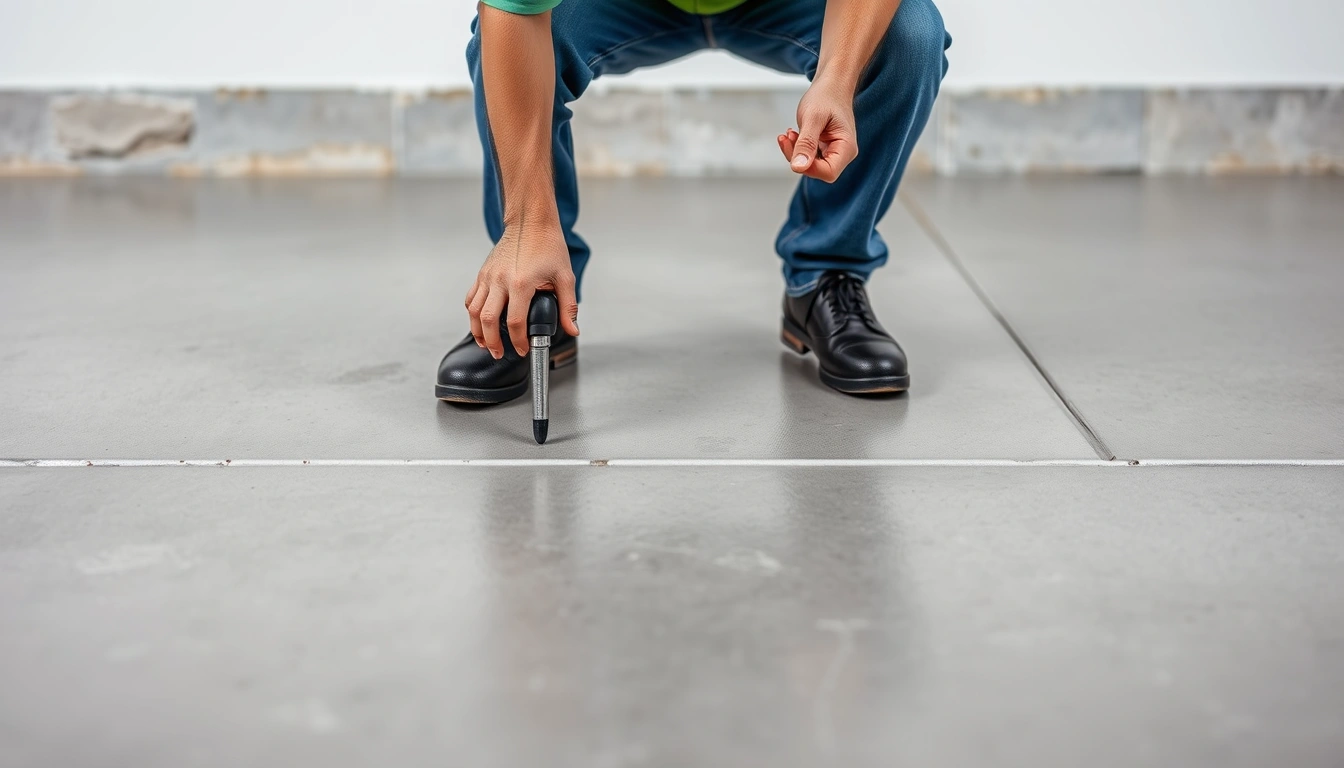
- Measure crack width at the widest point. Use your tape measure. Push a piece of wire into the crack and mark where the sides of the crack grip it — that is your true width below the surface, not just at the top. Record the measurement. Anything over ½ inch triggers serious replacement consideration for your concrete leveling vs replacement decision.
- Measure vertical displacement between panels. Lay your straight lumber across the joint between two panels. The gap between the lumber and the lower panel tells you how far the slab has dropped. Over 2 inches of displacement is difficult to lift cleanly without cracking the slab further.
- Test for rocking. Step on the raised edge of the lower panel. A clean void beneath it will let the panel rock slightly under your weight. No movement, or movement in nearby panels, signals a more complex subbase problem that concrete leveling alone cannot resolve.
- Estimate spalling coverage. Walk the slab and roughly identify any areas where the surface is actively flaking, pitting, or delaminating. If those areas cover more than about a third of the total surface, calculate whether adding resurfacing cost to concrete leveling cost still beats replacement quotes.
- Check slab thickness at any exposed edge. Look at expansion joints, broken corners, or any place where the slab edge is visible. Measure the depth of the concrete layer. Under 3.5 inches means lifting risk — note this clearly when talking to contractors about concrete leveling.
- Run water across the surface. Use a garden hose and watch where water pools. Water pooling at the low point of a settled panel confirms the settlement direction. Water pooling at what should be the high point suggests the overall grade has been compromised — a more serious finding that points toward replacement rather than concrete leveling.
If your self-assessment puts you in the borderline zone — cracks between ¼ and ½ inch, displacement around 1.5 inches, spalling under 25% — get two quotes from concrete leveling contractors and one from a concrete replacement contractor before deciding. Ask each one to walk through their recommendation against the specific measurements you have already taken. The contractor who engages with your numbers rather than defaulting to a sales pitch is the one worth trusting. You can also use a concrete leveling cost calculator to benchmark the quotes you receive.
See also: concrete leveling methods compared
See also: concrete leveling cost statistics
See also: concrete leveling for sandy soil
Related: quote line items
Related: commercial concrete leveling cost
Related: concrete leveling for freeze thaw climate

Related Posts
Concrete Leveling Process Steps: Drill, Lift, Patch Explained
Polyurethane vs mudjacking for driveway